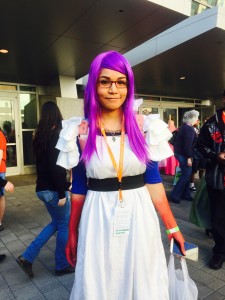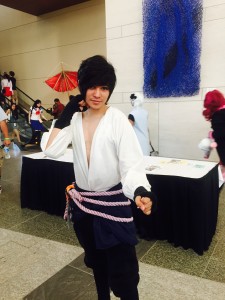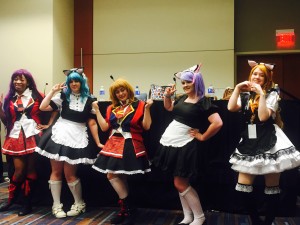
Cosplay Makeup Essentials

While not every cosplay needs fake eyelashes and lipstick, particularly for male characters, you still want to remain looking out of this world fabulous and with just these small makeup pieces, your cosplay will look as great as ever!!
-BB Cream

Whether you’re in cosplay or even out of cosplay, BB Cream can take your looks to a whole new level!
I personally use the Tony Moly brand Goddess Aura BB Cream, though it can get pretty pricey. The reason it’s so expensive is because it smoothens your face and makes it all an even color with a touch of light so that you look radiant. It evens out uneven skin and hides pores and smoothens out acne you might have right before the big con! This product isn’t just for girls either, a lot of KPOP stars use BB Cream on their faces because it stays on for a while and makes you look gorgeous in front of the camera. It’s one of my highest recommendations and you can find BB cream at any local beauty store!
-Contouring

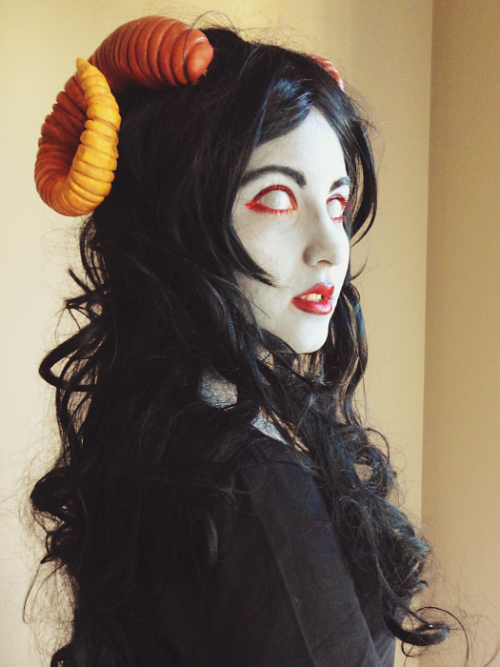
Now that you have your BB cream on, you can move onto contouring your face so that you can have a better defined and more pronounced face. If your facial structure is similar to that of the character, just do some light contouring with a dark color underneath your cheek bones and the sides of your nose, as well as a little bit on your jaw line, and don’t forget to highlight using a light color on your nose and the apples of your cheeks!! Contouring can make someone’s face go from a baby face to a stronger looking face in just a few minutes!! It’s definitely recommended for older characters.
-Eyeshadow
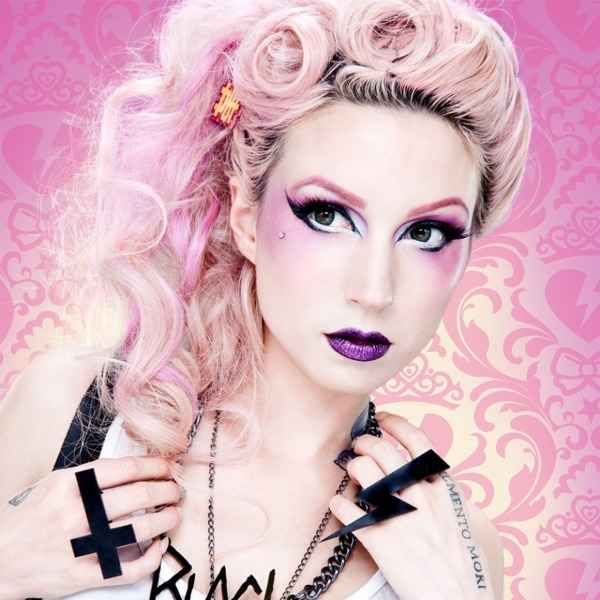
The eyes are a key focus to any good cosplay, so regardless of gender, try your hand at a good eyeshadow to enhance the look and create a more natural looking cosplay. For girl characters, go for a color in their general theme and go either intense or light depending on their personality. For male characters, use a nude palette with brown and peach tones to give the eyes a little bit of pop and use the eyeshadow to create dark circles under the eyes for a more natural tired look.
-Eyeliner

Sticking to the key focus of the eyes, eyeliner (while it isn’t always necessary), can make your eye shape look wider or more sleepy in order to match a character. If you have a shaky hand or just need help when it comes to eyeliner, have a friend do it for you or use the tape method, where you add a piece of tape to the corner of your eye in a diagonal slant so that your eyeliner will come out in a perfect wing. Liquid is usually preferred over pencil for the top of the eye but feel free to use a sharp eyeliner pencil for both if that works for you. Even male characters can use some light eyeliner!
-Lipstick

While no one would expect you to use lipstick for male characters, a light dab of a nude color can really help create a natural look as male lips tend to be paler in color than women’s lips. For girls, go for a pale color in pink or peach for younger girls and for older girls, go with a deep red or plum pink if it matches your character’s color scheme and personality.
-Blush

You’ve got the rest of the components down, now to add a pop of color to your cheeks! Anime characters tend to have this “perma-blush” going on that makes it look like they’re usually embarrassed or nervous or just happy!! For this, you can use a light dust of rosie pink or peach color to brighten up your cheeks, but don’t use too much!! Anime characters aren’t THAT shy!
-Contacts
While contacts aren’t necessary, they add an extra zing to cosplay that makes it come to life!
Find a contact seller such as Pinky Paradise, Honey Color or Lens Village and choose a pair in the color of your character’s eyes. Remember to know your prescription and ask a doctor before ordering contacts to make sure that you’re able to wear them!
Also make sure to brush up on contact care and replace the solution often so they don’t end up drying up before you get the chance to wear them! Also remember not to stress out the first time you put them in, it could take a while.
-Eyelashes

Anime characters are usually known for their big eyes, so to get this effect, use fake eyelashes or use mascara on your real eyelashes in order to gain that anime appeal. These usually come in sets so you have a few different options to choose from. Use bigger ones for females and shorter ones for males. Choose the one you like best and apply the eyelash glue and blow on it so it will become tacky and stick better. Apply right on your eyelash line and position it well. Now go bat those eyelashes~
With these small essentials, your cosplay will look a million times better than ever before!!