Cosplayer Interviews – Flytrap-Hell

This is Flytrap-Hell, a Finnish girl who is an anthro artist. In her words, she joined in Deviantart to participate in contests, show her artwork to the world and then become a better artist, sounding really ambitious, XD. Having a wide interest on horror, art, anime, cosplay (lots of stunning performances have been shown), etc, Flytrap-Hell especially loves Nightmare Before Christmas and Moulin Rouge.

Today, Flytrap-Hell joined in our cosplay interview to share us her cosplay experience. Thanks, Flytrap-Hell, XD. Now, let’s take a look at the detailed interview content.

1.Please Introduce yourself first?
Hi there everyone! I’m Lisa, but around the internet I’m called Amira. I’m 18-year-old girl from Finland and you might already guess that I’m all grazy over crafts, sewing and cartoons.

2.What does cosplay mean to you?
For me cosplay means to be someone else for a moment and show your skills in crafts. A new cosplay is always a new challenge!

3.What was your first cosplay?
I’m embarassed to admit that it was Haruno Sakura from Naruto, made and cosplayed on 2006. It wasn’t that great costume (okay, it was bad! XD) but I had really much fun at the con I was wearing it.

4.Does your family supports your cosplay?
At first my mother saw it as a really embarassing thing, but she has always been my sponsor and given me tips and opinions how I should do some things.

5. What is your most memorable cosplay experience?
Hmm… This is a tricky one. What would be my most memorable cosplay experience…. I guess it’s from the last summer (2010), when we had our “human version” Team Chaotix group (from Sonic the Hedgehog). We were trying to stay in character around the con, but it was really hard for me since I was cosplaying Espio, a really serious ninja, while the others were making jokes and fooling around.

6. What are your 2011 cosplay plans?
Well on the 15th of June I’m going to travel to USA to my boyfriends place and we’re going to go to ConnectiCon together. And of course this kind of cosplay freak will cosplay! Me and my boyfriend chose pretty childish series and we will be characters from Pokemon and Digimon.

7.Do you make your costumes yourself or buy them ?
By myself of course! I think that’s half of the point of the cosplay and it’s also half of the fun! I usually find all kinds of useful items from flea markets, like shoes, which I can use in my costumes after a small modification.

8. Any other cosplayers you like?
A lot! From DA I could give some examples…
DaKyu. She’s a close friend of mine and I just adore the photoshoot pictures she gets from her cosplay. She also does really detailed cosplay!
Jamberrii. She and her boyfriend have marvellous Sonic the Hedgehog human cosplays.
Kaksoset89. These two girls do amazing bodypainting, but also great cosplays.

9. Do some changes happen to you after cosplay?
Well of course during these years I have cosplayed I have learned a lot more about sewing and crafts. But after individual cosplays I usually get a terrible urge to start many new cosplay projects, since I have met new people and seen awsome costumes in a con where I was wearing my cosplay.

10. Any advices you wanna share with cosplay newbies?
My advice would be that don’t worry if your first costume doesn’t look that great! The most important thing is to have fun! Also, don’t try to do too complicated costume as your first cosplay. Human versions from different characters are a great way to start, since you can pretty much desing the costume by yourself, but still stay faitful to the original creature.

Guest post: Cosplay Makeup Tutorial-Snake scales

snake scales cosplay tutorial

Do you remember our cosplay tutorial about How to Make Fake Wounds For Cosplay-Scars And Scratches , Today we will show you another amazing cosplay makeup tutorial by Nanu from Deviantart. It’s nice of her to do this for cosplayers. With Nanu’s approval, I’d like to share it with our friends here.

Equipment needed:
– two shades of nail polish (white and silver)
– base make-up (in this case very light cream)
– white powder
– eye-liner(liquid and pen)
– lash-glue(not in pic)
– plastic fake-nails

Painted and cut nails. Remember to make the pieces small enough. If they are too big, it doesn’t look convincing. Depending on your character, you can change the colour, but I recommend white as the base.

Put the base make-up on. At this point you should also put the shadings if required. To make your appearence more cold/wet you can mix a hint on white to your foundation/powder and add it to above your eye-brows, nose and cheekbones. (I skipped this,since I was only testing)

Start adding the scales. Just put a bit of the glue to a nail-piece and stick it to your skin. Instead of starting from low and going up, I started from middle.This way it is much easier to see how the result will be. It also makes the surface appear more scaly, since the pieces are lifted a bit when you add pieces under tham.

Add more scales, try to keep the shape of the scaled place irregular, but also keep in mind that snake and fish-scales usually are horizontally and certically in liner. (You should google referance-pictures.)

Another scale-spot. You can see the scale-color is few shades darker than my skin color. You can always try to match the shades if you want to, it’s easier if you go green, blue or black…or something darker.

And ta-dah! I added some eye-liner to my eyes, added some random wig and i’m semi-presentable snake/emo. Depending on your personal likings, you can add more scaled-spots, add some to your hands, chest and such. I let them be for about an hour, just to test how well they stay. You can live quite normally with those on (even eat, drink and smoke!) Removing was also painless operation (but then again, I’m not very hairy person, and I didn’t try adding them to my hands tec …so I recommend shaving before you decide to play snake.)

Author bio: This tutorial is made by Nanu, a cosplayer from Finland. You can visit her at deviantart.com.

Cosplayer Interviews-Felix

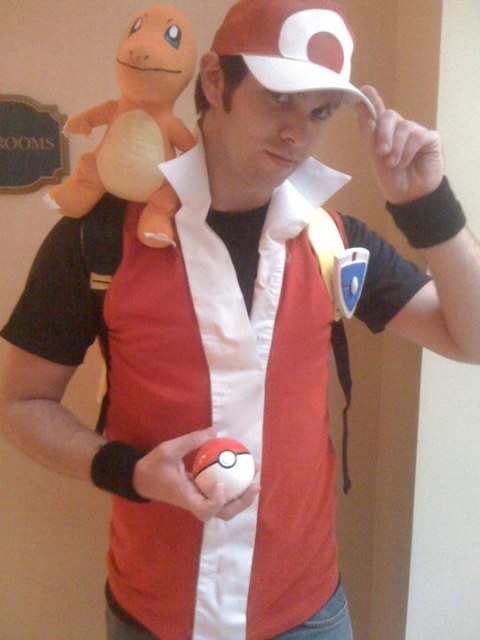
Here, we have Felix from United State in our Cosplay Interviews. As an art student in college, Felix is working on becoming a teacher. In his gallery, you can find many wonderful artworks. Today we are going to talk about cosplay with Felix. Ok! Let’s share his cosplay experience together!

1.Please Introduce yourself first
Hi, my name is Felix.

2.What does cosplay mean to you?
Cosplay to me means being able to be someone else for a day.

3.What was your first cosplay?
My first cosplay ever is actually the one featured -The male
hero, Red, from the Pokemon Firered and Leafgreen games.

4.Does your family supports your cosplay?
My family actually made fun of me consistently for
cosplaying, heh. -But it was all in good fun, we all got to
joke around and laugh alot.

5. What is your most memorable cosplay experience?
My most memorable cosplay was when I went as Red. There
happened to be about twenty-five people cosplaying something
from the Pokemon series and everyone met up for a huge group
photo. The camera shots were going off for a good while.

6. What are your 2011 cosplay plans?
For the 2011 year I’d love to go as the male hero or N from
the Pokemon White and Black games, but as I’m not sure I’d be
able to afford another costume, convention ticket and hotel
room for a good while, I don’t think that will be happening any
time soon.

7.Do you make your costumes yourself or buy them ?
I made the costume myself for the most part. I took pre-made
things and modified them. For example, The backpack was a basic
solid black zip backpack. I added a top flap, primed it,
painted it yellow, painted the decals on, and added two
side-pockets made from plastic bottles.

8. Any other cosplayers you like?
I don’t know many other cosplayers, actually. But my friend
Laura does a good job whenever she cosplays.

9. Do some changes happen to you after cosplay?
Nope.

10. Any advices you wanna share with cosplay newbies?
My advice for cosplay newbies would be to take your time
and do a little each day. Don’t put it off till the last three
days and then have to rush it.

Black Butler Sebastian Contract Tutorial

sebastian contract tutorial

This tutorial is made by Vickie from Deviantart. It’s nice of her to do this for us cosplayers. With Vickie’s approval, I’d like to share it with our visitors here.

Things you need:

You don’t have to use what I have exactly. Items listed are what I own. You may use whatever you prefer.

-Eyedrops

-Makeup remover

-Black liquid eyeliner

-Black/dark gray eyeshadow

-Black eyeliner pencil

-Eyeliner brush

-White eyeliner pencil

-Black cream eyeliner

-Reference picture

Use white eyeliner and lightly draw a large circle on your left hand.

Draw a second, smaller circle inside the large one.

Draw a 5-point star inside the smaller circle, slightly angled.

Draw a line on the outer circle at each point of the star.

On the outer line, draw 3 lines in between each star-point line.

Place a few drops of eyedrops into the black eyeshadow. Mix it with the eyeliner brush.

With eyeliner brush, trace over/refine sketch with eyeshadow.

Choose one to trace over final sketch:

Black liquid eyeliner – liquid is more shiny, tattoo-like.

Black cream eyeliner – cream is more dull but smooth.

The spikes are DIAMOND shape. They are longer on the outside of the circle than the inside.

All done! Just paint your nails black and you’re all set.

Make up remover to get everything off when you are done being Sebastian.

Have fun!

Author bio: This tutorial is made by Vickie from Deviantart. You can also find her at twitter and youtube.

How to Restore a Messy Cosplay Wig?

Most people discard a cosplay wig when it has become rather messy. Hey, this is really wasteful, especially if a kanekalon wig is abandoned. So, let’s focus on methods of rescuing a messy cosplay wig made from high temperature fiber and kanekalon below.

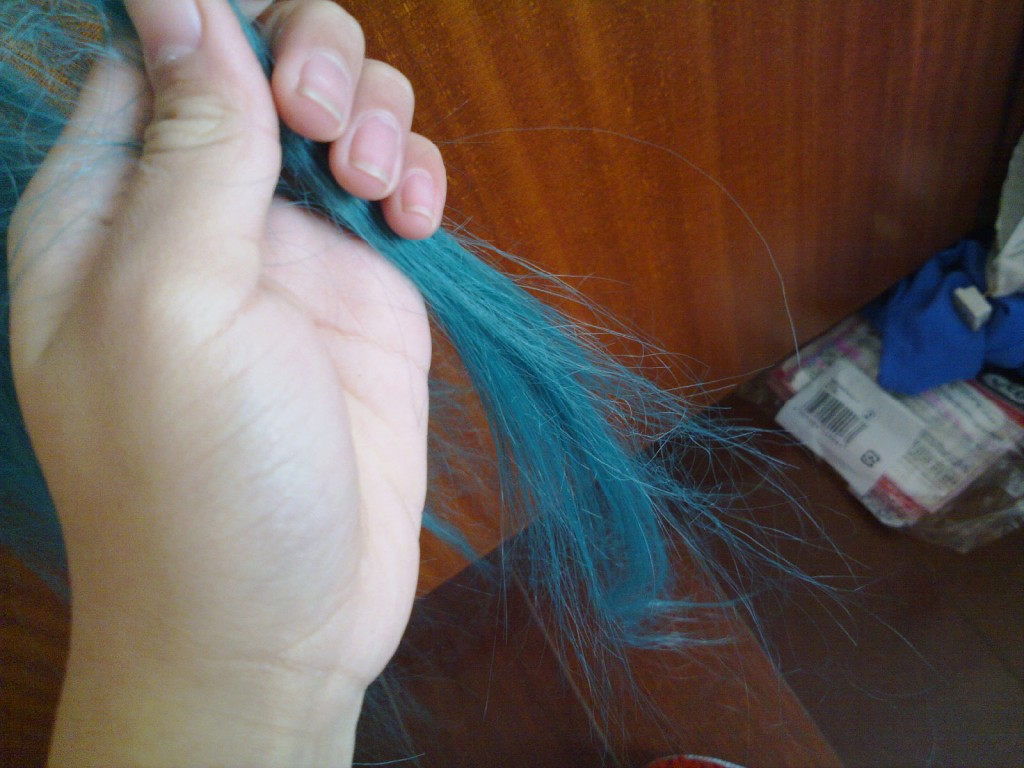
First, let’s look at a messy cosplay wig. Just as the photo shows, it’s been rather jagged and fluffy. There are knots from about 10 centimeters away from the top.

It will be rather difficult to comb it without using any hair detailer. So, just spout a little hair detailer and grab a small fraction of the hair by your left hand. Use your right hand to comb the hair by a steel comb or an anti-static comb from the bottom to the top.

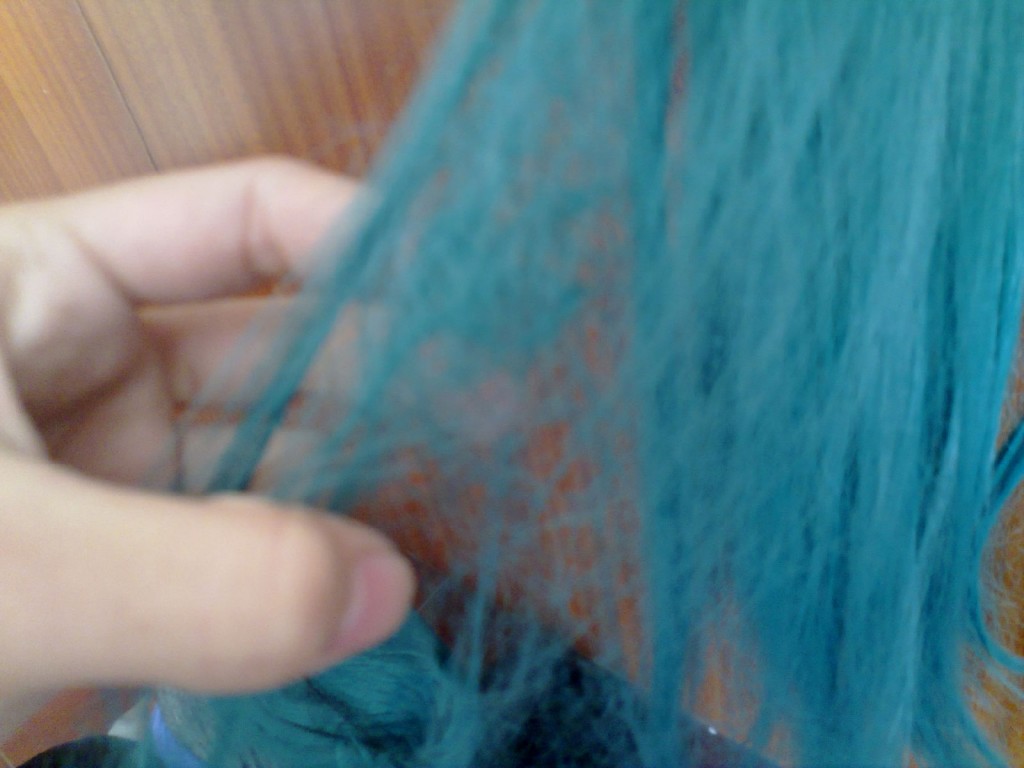
If you meet a big knot like that one in the below photo, don’t use a scissor instantly. First, drag it by hand to see whether it can become smooth or not. If it becomes smooth, just pull it and comb it by a steel comb. Just be patient, XD.

If it doesn’t become smooth, drag the hair when small fast knots form. Those knots should be as small as possible. Then, cut at the middle of each knot. Don’t pull the hair once being cut. Use steel comb to comb it once again until all cut knots stick to the steel comb.

While meeting a handful of knots, don’t use scissor because these knots will easily form while dealing with a wig. If you cut it frequently, the amount of hair will sharply decrease. At this time, just comb smooth hair and place it aside. When there are only a handful of knots on your hand, comb it from up to bottom at the place 10 centimeters above the knot. Comb several times and use some strength; it will be smooth.

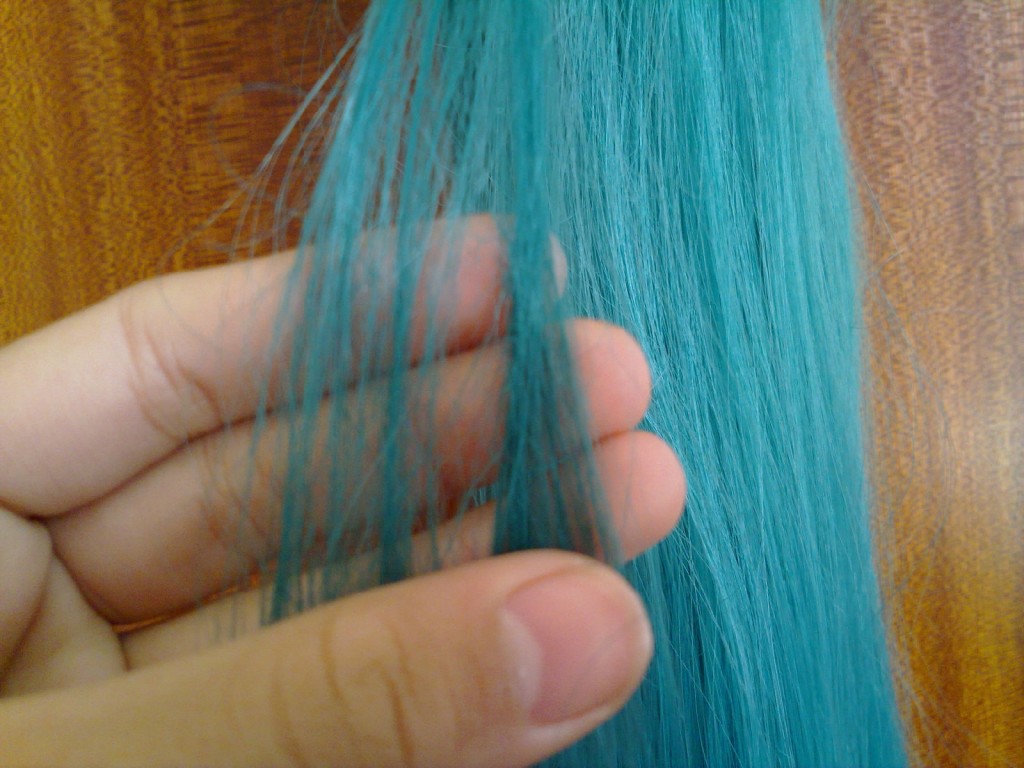
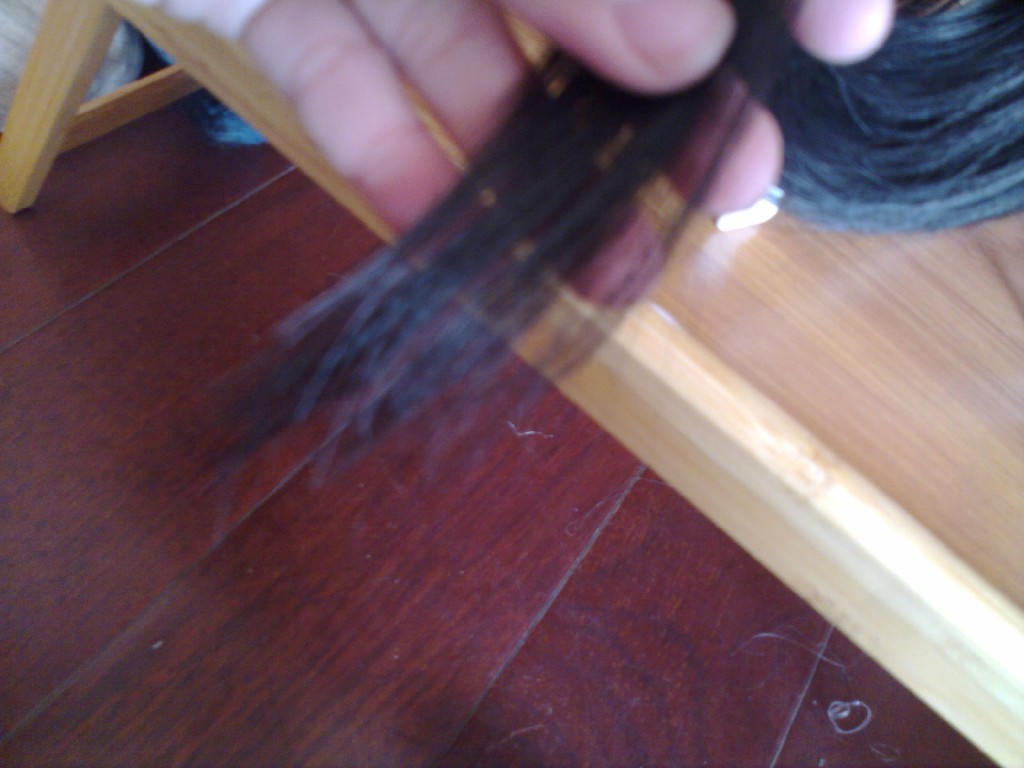
Then, repeat above two steps continually. In most cases, hair is messy and has fast knots. You can deal with these after grasping above two steps. After making it smooth, you had better to wash the hair. Flush water while combing. Then, wait until it dries. Below picture shows you hair that has been combed. Yes, it is still a little fluffy, jagged and curving (you may not see this from the picture).

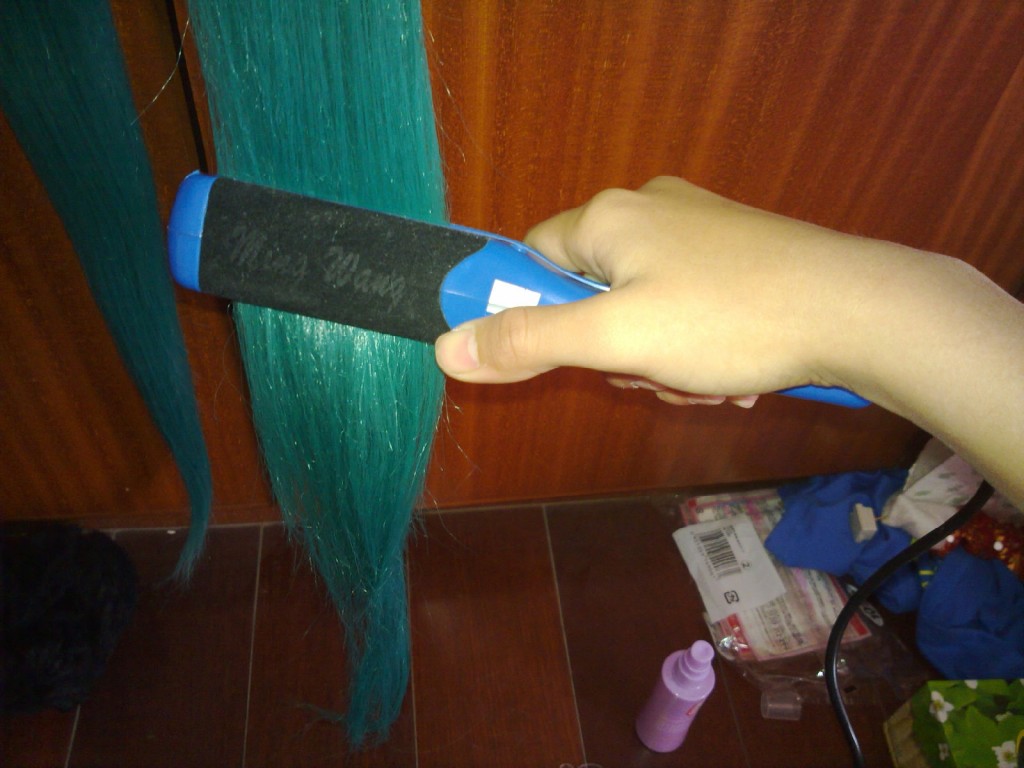
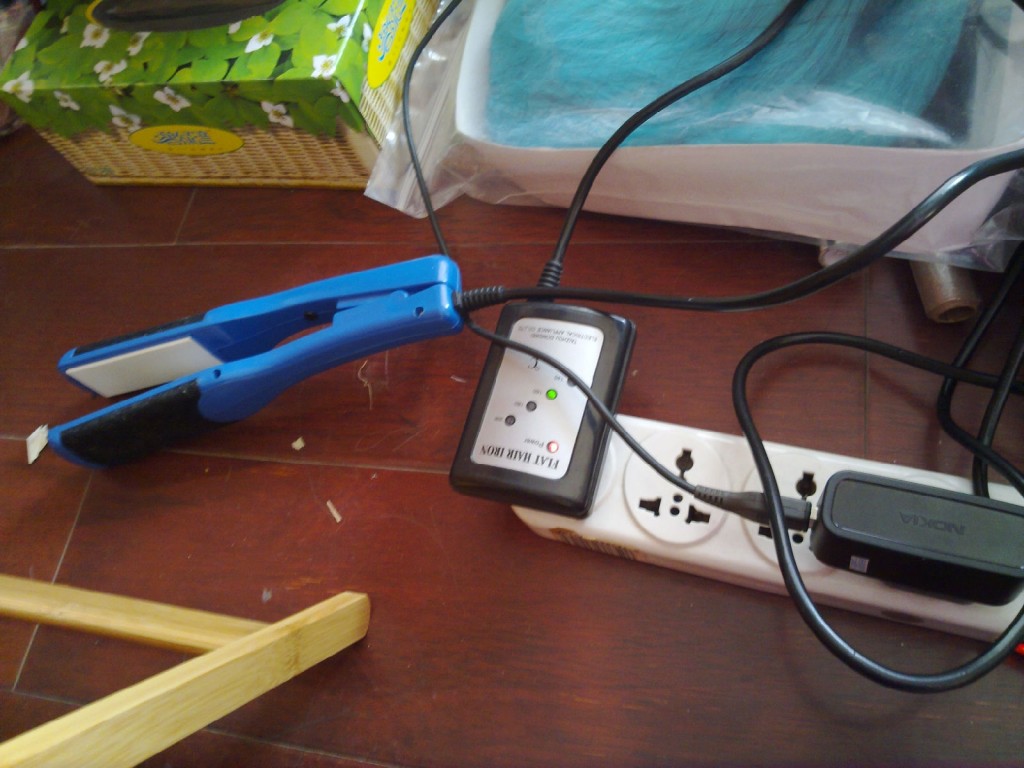
If possible, use an electric hair straightener, which is the only tool to help a jagged hair become smooth. Before clipping, comb it times and press the top by one hand to avoid it drops down. Pick up a small handful of hair by another hand and slowly clip it from top to bottom. Use a little force for a smoother look.

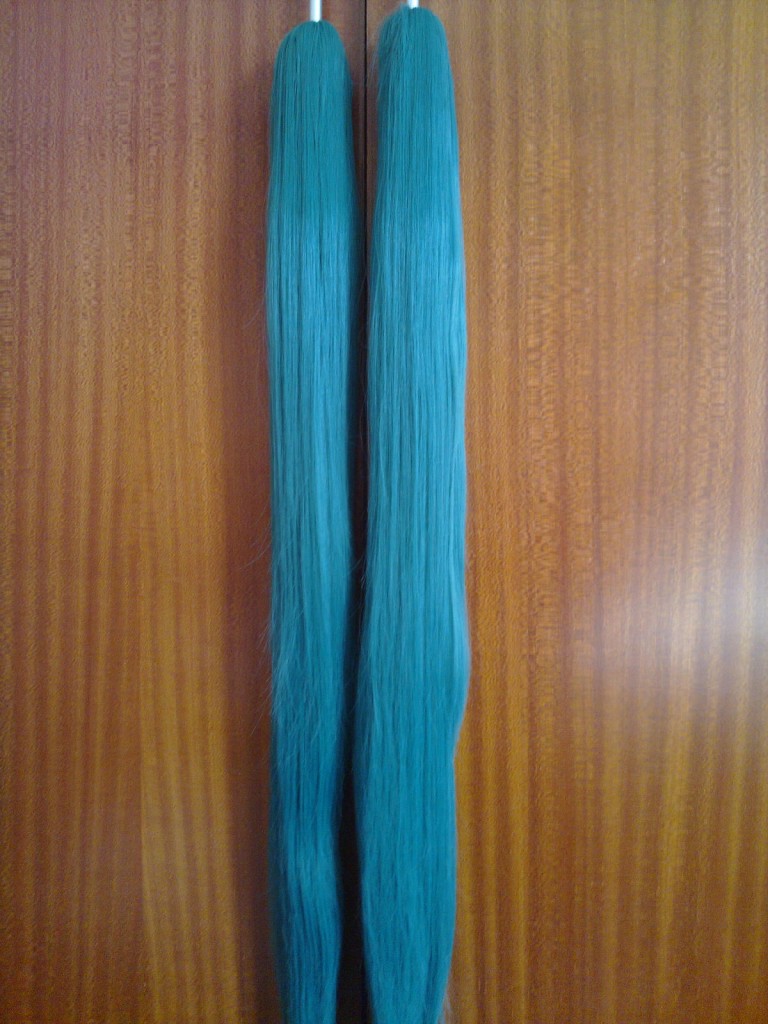
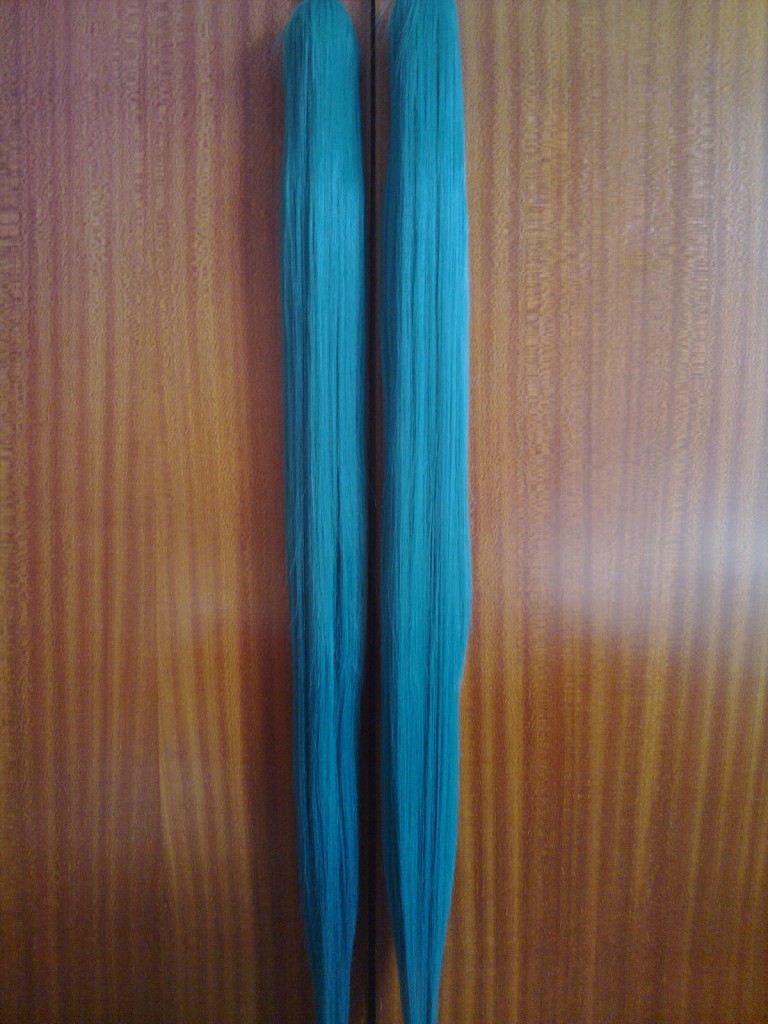
This is the finished pattern. The hair bottom has no longer been fluffy. It feels like a new hair, \(^o^)/. Then, spout some hair detailer. Pack the hair into a hermetic bag until the hair detailer dries.

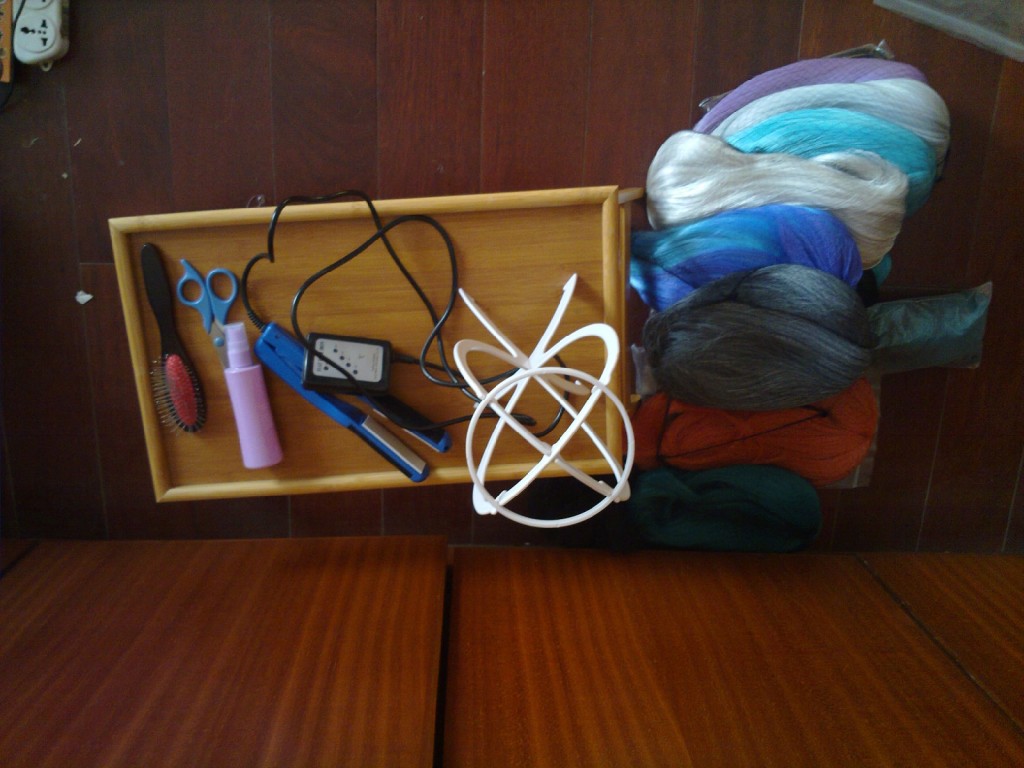
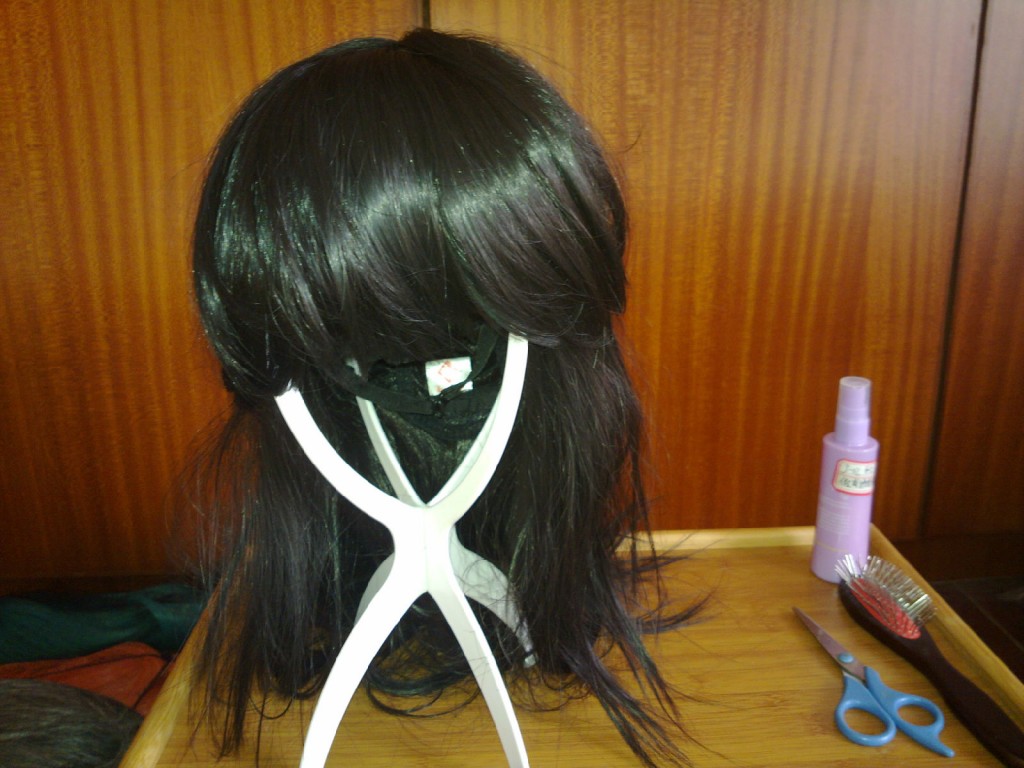
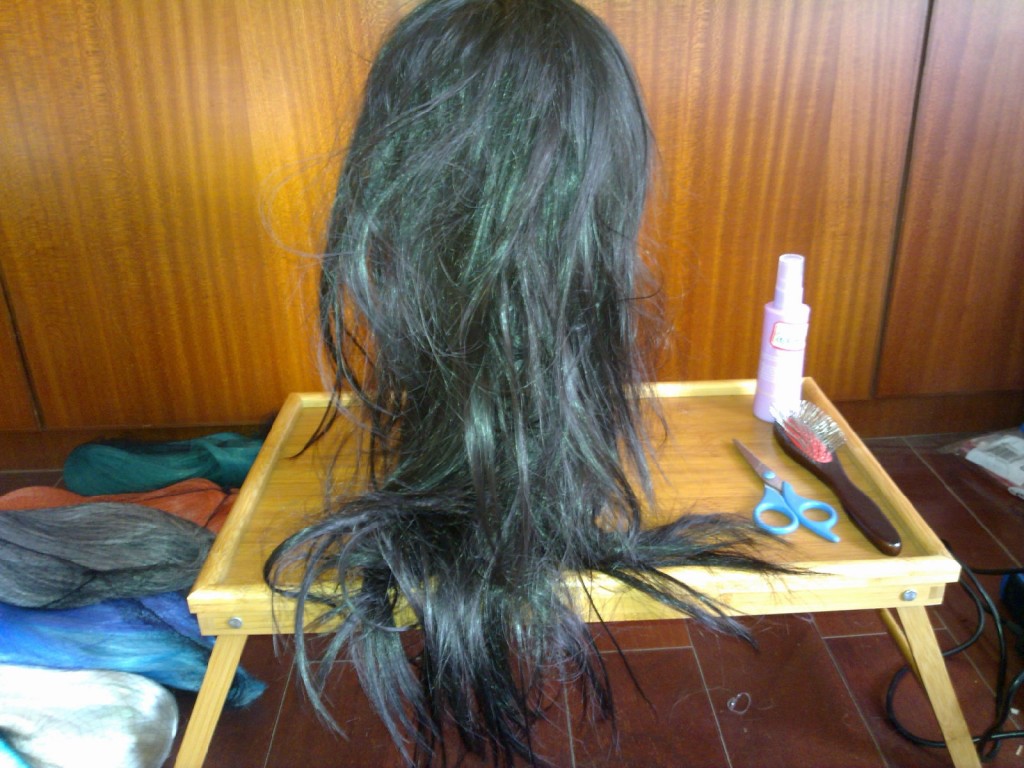
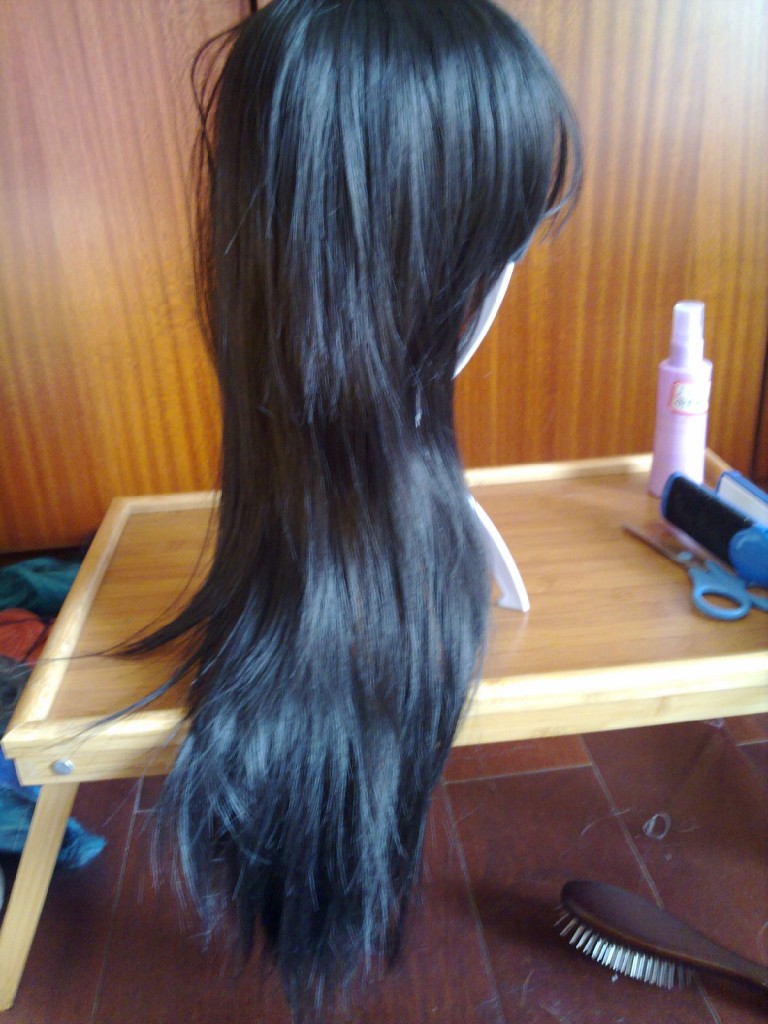
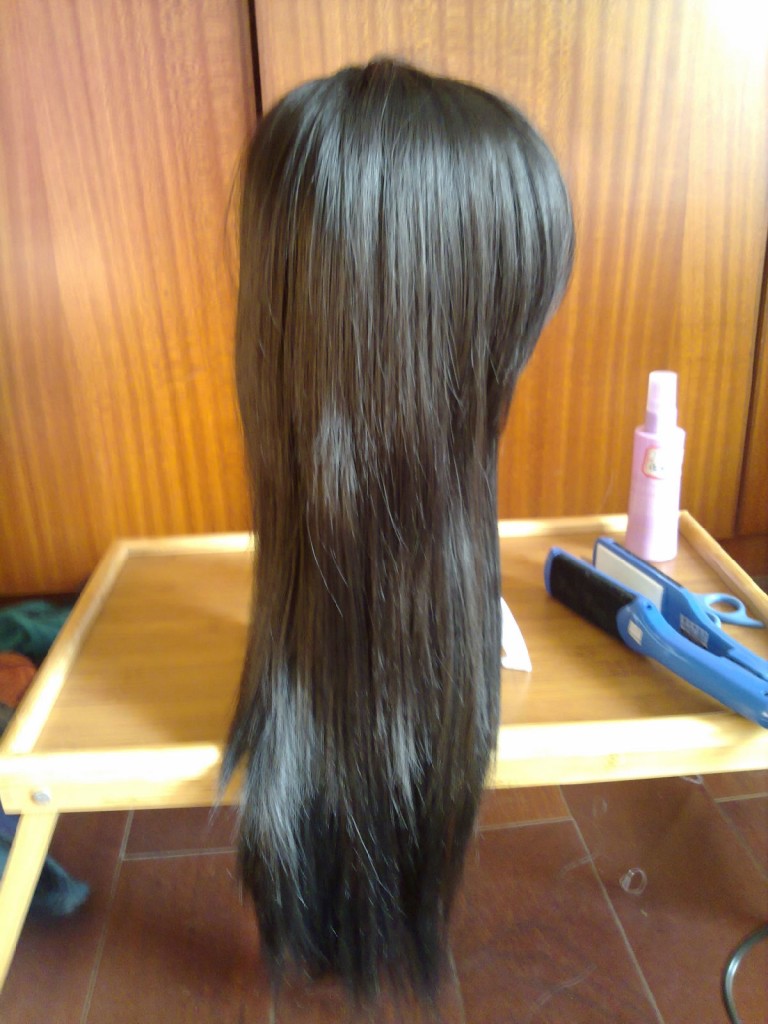
Okay, a messy cosplay wig made from high temperature fiber has been restored to the original shape. Below, let’s learn how to rescue a kanekalon cosplay wig below. This picture shows you required tools: a steel comb, scissor, hair detailer, electric hair straightener and a wig frame are required.

Look from the front:

To know whether a wig is made from kanekalon, just pay attention to its sheen. Look from the back:

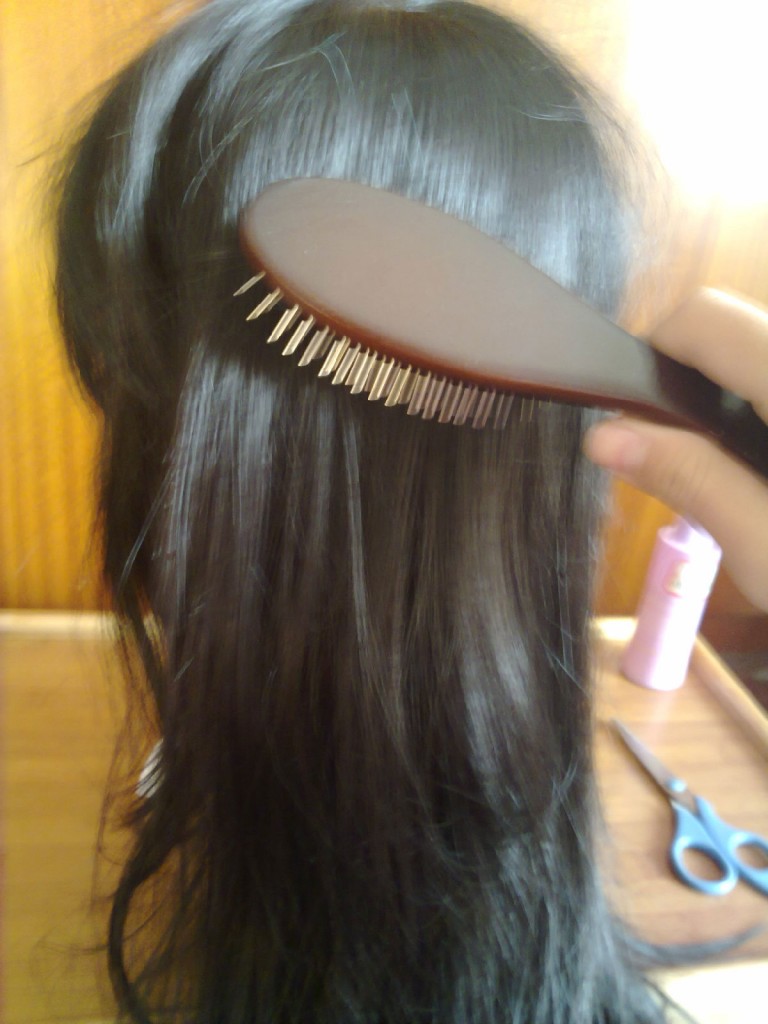
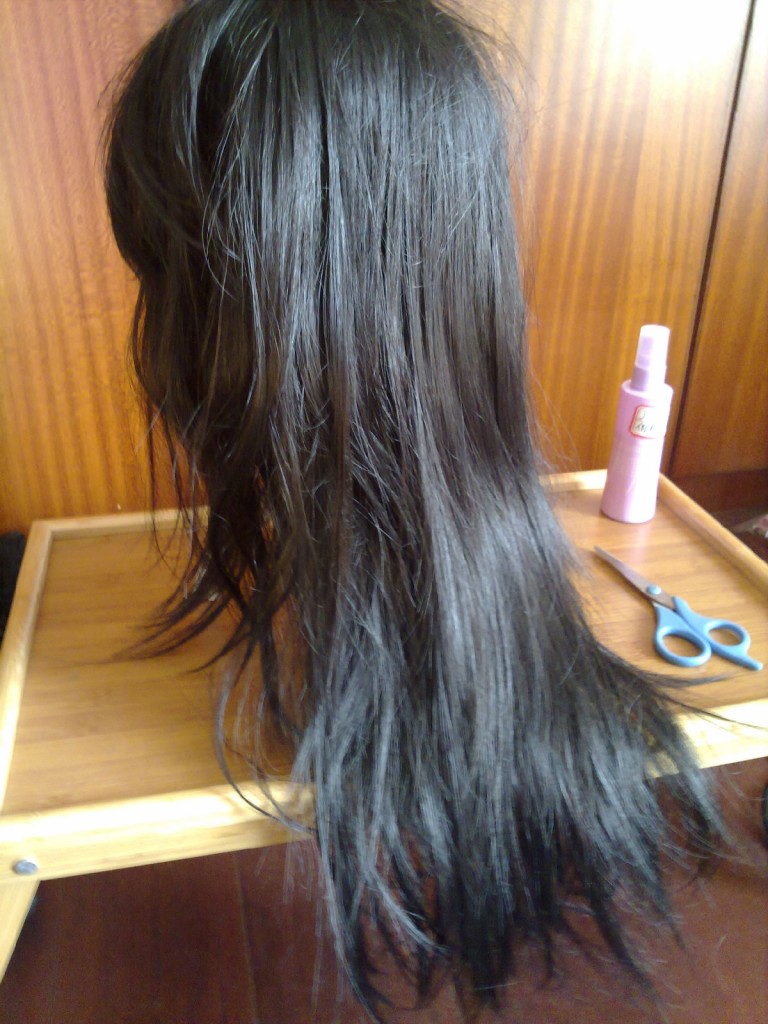
As this is a kanekalon cosplay wig, you must use steel comb. It will be rather difficult to deal with it by an anti-static comb and it will cause many knots. Just as below picture shows to you, just comb it lightly on the surface. And then pick up some of the hair and comb them. The outside part has become smooth till now. But inside, it’s still messy, L.

To make the inside hair smooth, you can use the same method to deal with a high temperature fiber wig. But make sure to use less force.

Actually, the hair is still jagged and fluffy even though you think it’s been smooth. Here comes the most crucial step.

Hang up the hair. If electric hair straightener is adjustable on temperature, just set to the lowest temperature. If it can’t, it does not matter either.

Pick out curvy and jagged hair and place smooth hair aside while waiting the electric hair straightener becomes hot. After about one minute, put your nose near to those two porcelain plates. If you feel hot, pull up the plug. After 15-20 seconds, pick out a small handful of hair on the bottom to make an experiment. Use the hair straightener to clip it quickly. It the hair becomes parched, move hair straightener away at once.

Wait another 20 seconds and then quickly clip the picked pair back and forth times. Don’t use too much strength. Otherwise, it will become parched. Nor do clip it too tightly. Then, the hair is no longer fluffy. Here is an ironed wig.

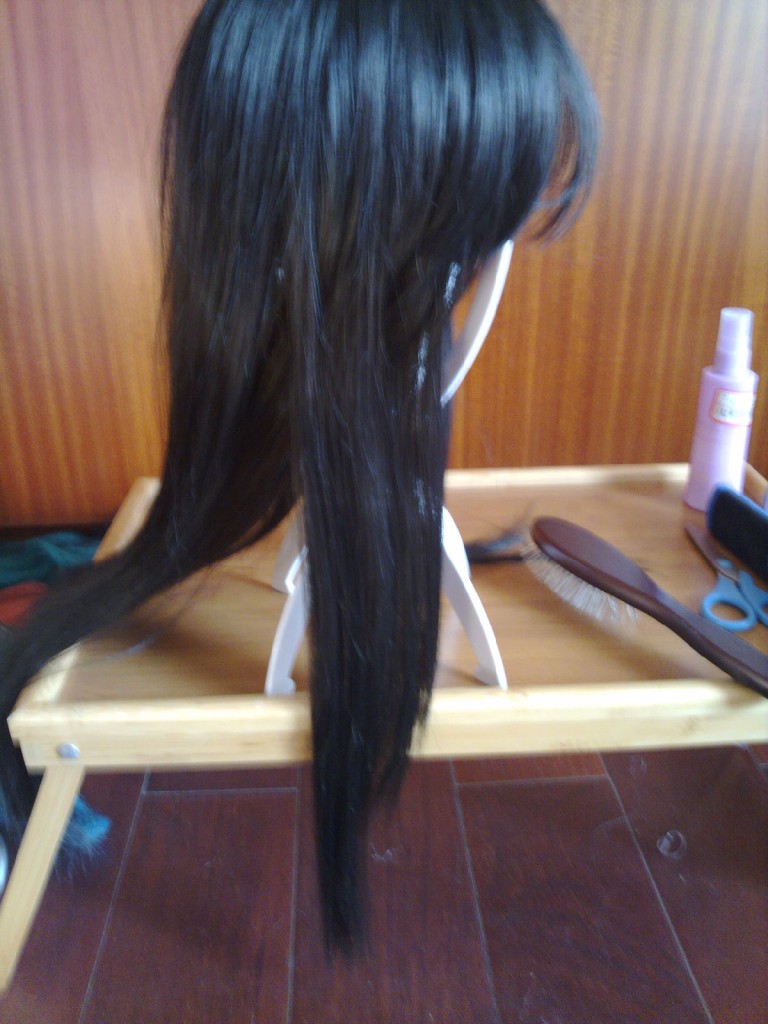
After clipping for a moment, you will find the temperature on the hair straightener has reduced a lot. Then, plug in once again. While waiting, mix the clipped and original hair and together and mix it. Then, divide it into several parts. Then, repeat above steps slightly and quickly. Here is the wig finished.

Most cosplay wig can be restored to the initial shape. Just be more patient and careful. You will save really a lot.