We found this cosplay tutorial at 4ever-in-a-dream’s gallery. She comes from New Zealand, feeling interested in cosplay, zoology, literature, etc. To enhance your Kingdom Hearts cosplay, you must be interested in taking a look at these useful tips.

We found this cosplay tutorial at 4ever-in-a-dream’s gallery. She comes from New Zealand, feeling interested in cosplay, zoology, literature, etc. To enhance your Kingdom Hearts cosplay, you must be interested in taking a look at these useful tips.
Just as the title implies, this article focuses on some tips on making the horns for Dead Master cosplay. We will continue to share you cosplay tutorials here, hoping to give you some inspirations on enhancing your own performance. This one is created by Sarah-in-a-bonnet. She is an American girl, who does well in cosplay too. Her Dead Master cosplay, Hatsune Miku cosplay, Lady Ciel Phantomhive and Alice cosplay also draw the attention. Thanks, Sarah-in-a-bonnet 😀

(You can take a clearer look at the picture here.)
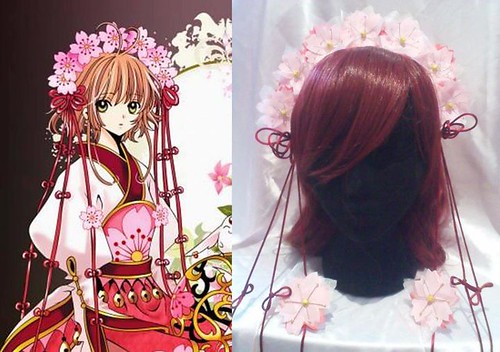
I’ve always loved CLAMP’s works, especially Cardcaptor Sakura and Tsubasa reservoir chronicle so today I’ve made this tutorial will show you how to recreate Sakura’s headband as shown above^^ Check out my Deviantart page for more cosplay accessories.
What You Need:
Steps:
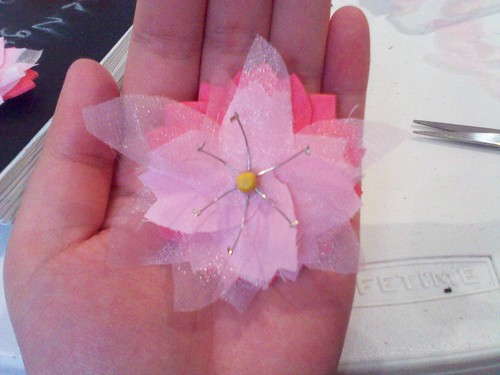
 7. Get your flat head findings and thread though the small gold/yellow bead. Get a crimp, thread this through and using the pliers squish down the crimp. this will stop the bead from moving. You will need to make 54 of these.
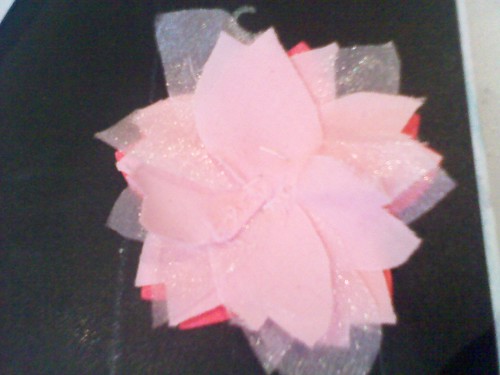
8. Put a little ball of hotglue onto the middle of the flower. Place 6 of your findings onto this. Make sure they are evenly spread out.
9. Using hotglue, glue a yellow bead in the middle of the flower to cover the findings. Repeat for all 9 flowers.
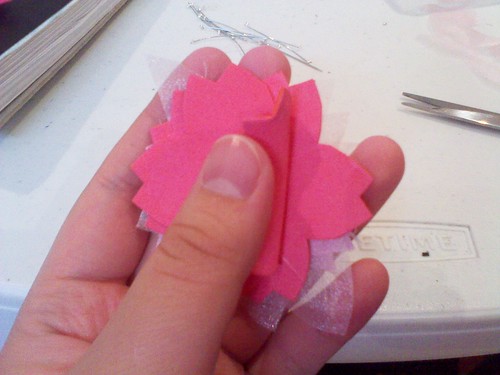
10. Grab an unused foam flower, place this on the back of a flower you just made. Don’t put it under the flower directly, make the petals for both flowers show.
11. IMPORTANT! Hot glue the two flowers together only 2/3 way. Make sure you have 1/3 still unglued! Repeat for a total of 7 flowers. Leave the other 2 flowers aside.
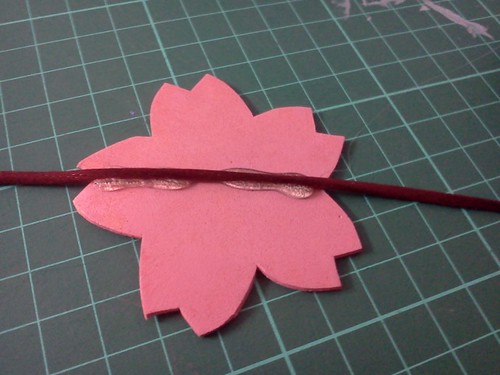
12. Grab your headband and find the middle. Get one of your flowers and fold open the unglued part. Now put a thick strip of hot glue onto the middle of the headband and place the flower directly above it. Make sure the flower stands up straight.
13. Glue the remaining 6 flowers onto the headband, working from the middle down.
14. Cut your red rope into 8 lengths. 6x 1.5 metres and 2x 1 metre
15. Grab the 1metre rope and wrap this around your 4 fingers 4 times. Pull it off and with the ends of the rope, tie 2 knots to secure the bow. Repeat for the other rope. Cut off excess.
16. With your 6 red ropes, tie little bows along it, make sure the bows are all at the same places. IMPORTANT leave out 2 ropes. These two ropes can have the same bows along it but skip one for the top. Our flowers will go in this spot.
17. Grab 3 of the 1.5m ropes and hot glue them together right under the flower on the head band. Make sure the ropes with the missing bows goes at the front. Do the same for the other side.
18. Glue down the bows you just made on top of the 3 ropes.
19. Where we left a gap for the front ropes, sandwich together the flower, rope and unused flower. Glue with hot glue.
20. Thread though the bottom of ropes 5 of the larger gold beads and knot the end. Repeat for all 6 ropes.
21. Optional: If you want you can curve the metal findings instead of leaving it straight. To curve it use your pliers.

One day I received a PM on cosplay.com from a fellow cosplayer asking how I made my scarf for Lavi. I told him to let me make a quick tutorial and I would explain it as best I could. Well, I don’t have the text anymore, so I have to re-write it here, but I still have the photos and will gladly share this with everyone now. I do have to apologize in advance for how offensively bright the fabric is in the tutorial. I have a ton of it laying around that was given to me and I use it for mock-ups and things like this.
Step 1: Planning
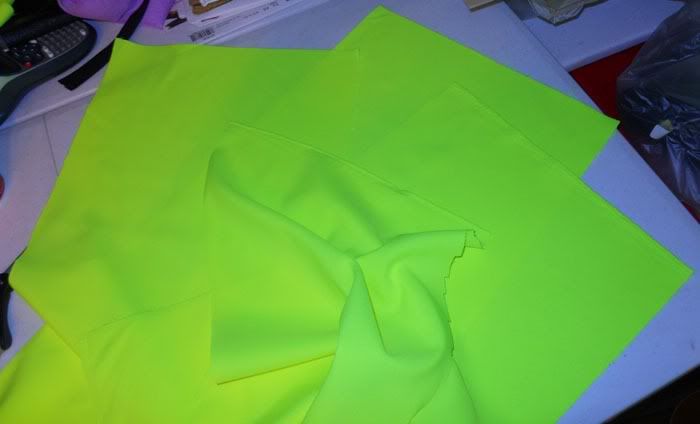
Before you even start, you will need to do a little planning for your length and width of your scarf. My finished scarf is pretty long, 142″x8″. I went with this length because Lavi’s scarf always seems to have a life of its own and I wanted mine to be the same. I used a flannel fabric so that I didn’t have to back it to get it to stand up around my neck, it just does it on it’s own. So, for the length, I cut four pieces 72 1/4″x9 1/4″. There’s a reason for cutting so many. I didn’t want any seams to show, particularly the center seam when joining the two lengths together. So the four pieces create the two sides of the scarf. You still with me? Also, I cut them to have a 5/8″ seam allowance on all sides, so the finished length will be what I initially stated for my scarf.
Step 2: Joining Your Pieces
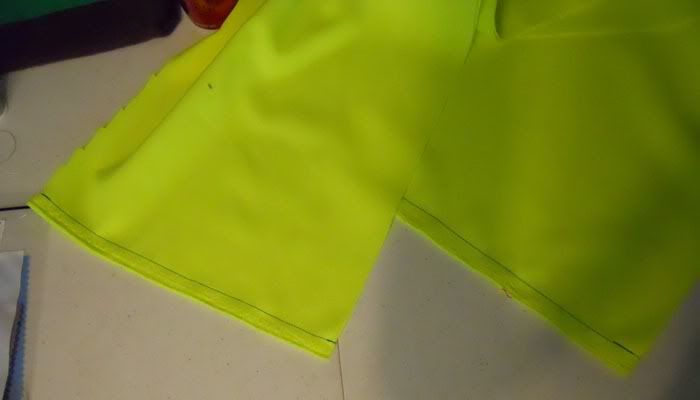
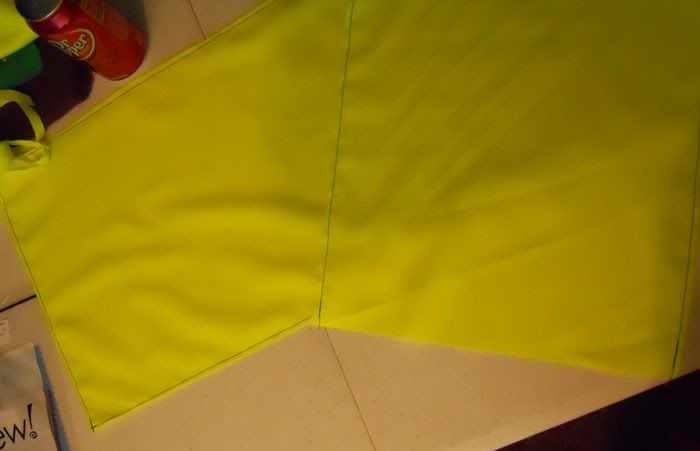
Using a 5/8″ seam like I mentioned, stitch two pieces together at the ends, creating one long piece. Do it again for the remaining two pieces.
Step 3: Press the Seam Open
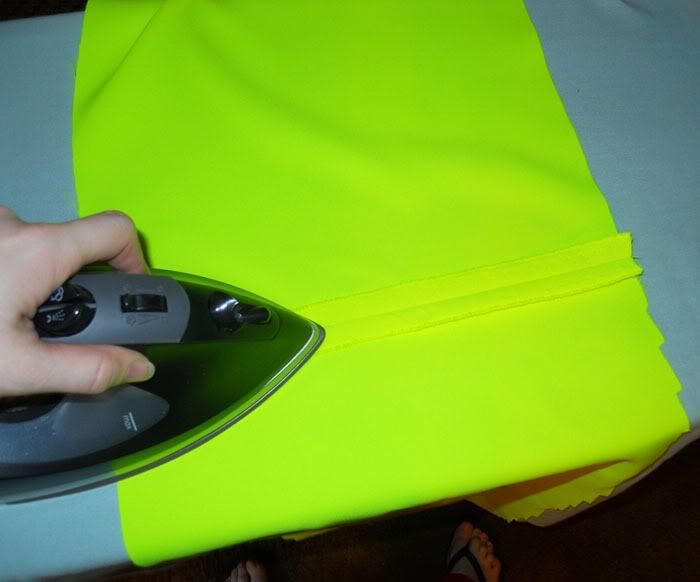
Press open the seams you just created. It will make the scarf lay nicer and the seam just looks cleaner if you press it. And yes, I pressed the flannel I used for my real scarf and it was fine.
Step 4: Join the Pieces
Laying the right sides of your scarf together, stitch down both long sides and one short end of your scarf with a 5/8″ seam. Trim away the seam allowance as close to the stitching as possible without cutting the thread. Turn your scarf right side out.
Step 5: Closing Your Scarf
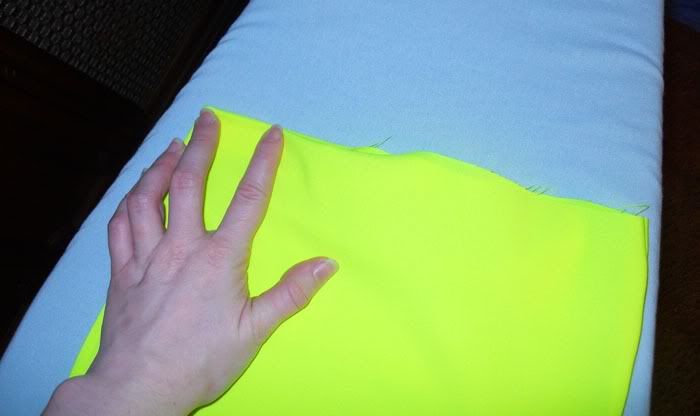
You will now press all sides nice and flat. Once you have pressed the three sides you stitched in the last step, you will want to turn in your seam allowance on the last side and press it nice and hard so that it stays folded inside. Time for the last step.
Step 6: Top Stitch
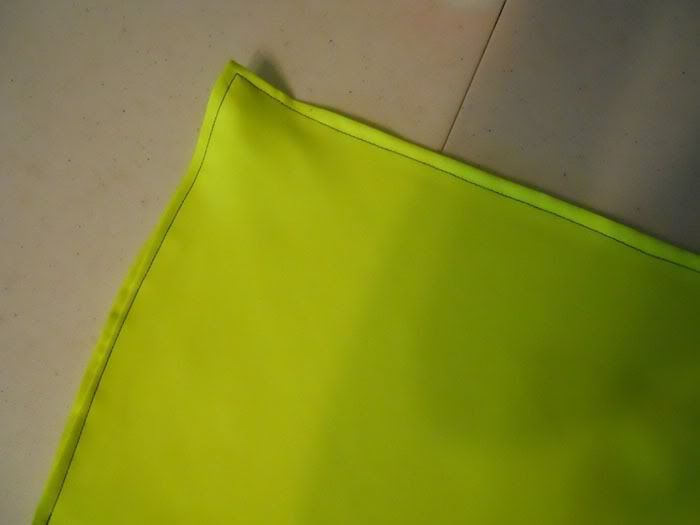
Just go all the way around your scarf, stitching close to the edge. It will make your whole scarf look nice and clean. It takes a while, but it’s worth it in the end. Just a note, I used a contrasting thread on the fabric to be able to show what I did in the tutorial. My whole scarf was done in red.
Final Costume with My Scarf of Doom (that’s my nickname for it):

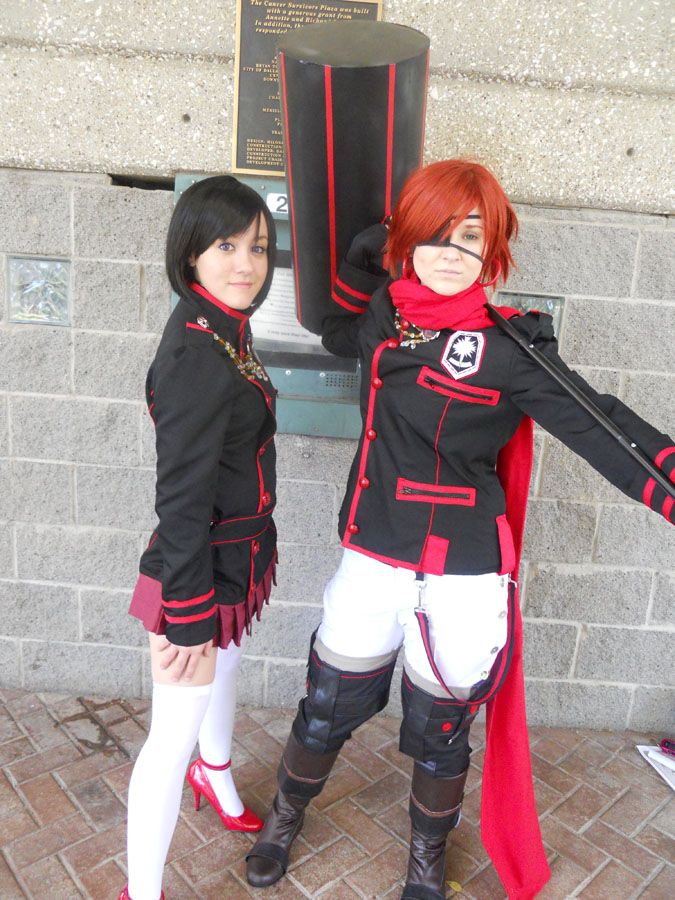
As usual, any questions or comments are welcome. I probably will get more asking about my hammer than anything. My brother made that. He wants to remake it, and if he does, I will make sure to get a tutorial for it. I get questioned on it often.
How can I make a sword for cosplay? This seems like being discussed by many cosplay devotees anytime. We are lucky to find this cosplay tutorial, created by Crimson-Shirou. He comes from Singapore. In his words, he feels interested in anime, art, gaming, manga, photography, RPGs and any finer thing in life. Thanks very much, Crimson-Shirou. This will be helpful for most of us. Now, browse downwards.
