HOW TO MAKE RIN MELTDOWN GUITAR
SIMPLE AND EASY
WHAT YOU NEED :
– Cardboard
– Cutter
– Paper or Newspaper
– Gold Acrylic Paint
– Paintbrush
– Black Acrylic Paint
– Hot Glue Gun
– Ceramic
– White Spray
Let’s start now!
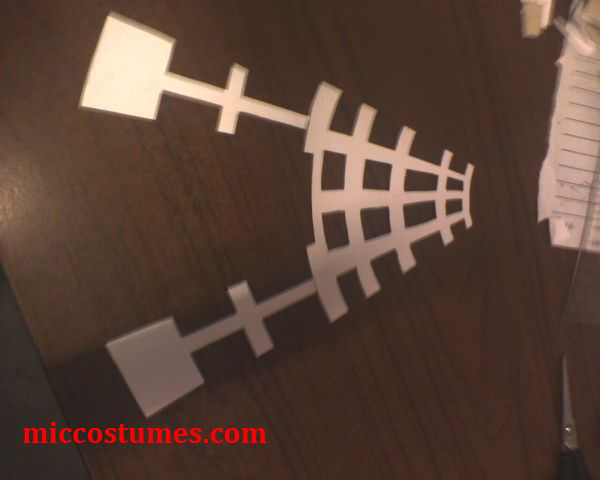
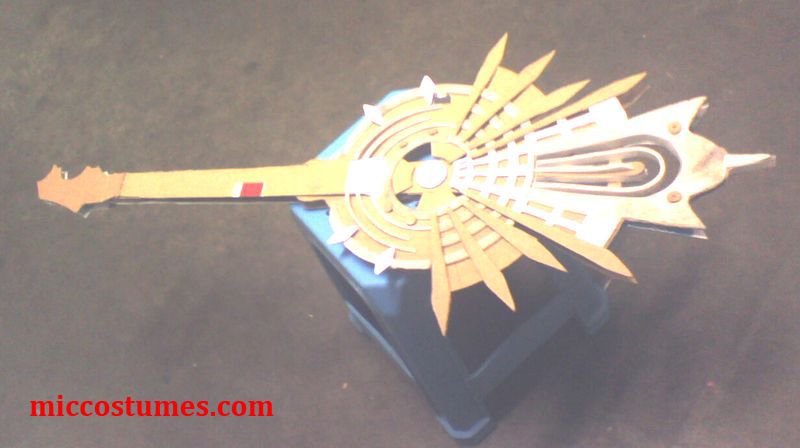
First draw the guitar base on a piece of newspaper or any big paper then cut it out. Paste the paper on the cardboard and draw out the shape on the board following the lines. After that, use a cutter to cut the shape of the board out. Since the thickness of board is only 1cm, I cut out 4 boards.

Cut the two boards like the right side and two boards like the left side. After that I sprayed using white spray at the boards.

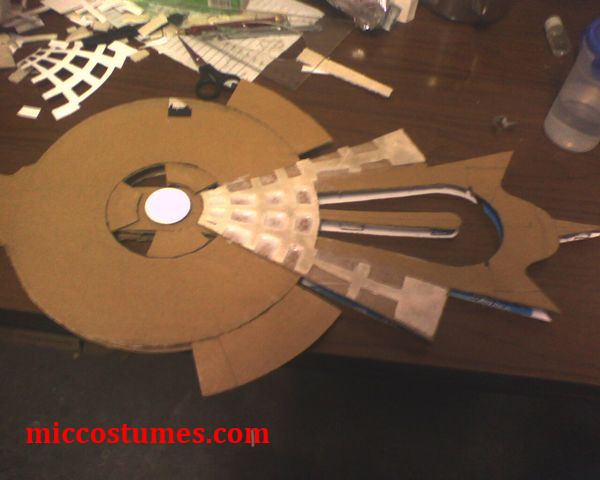
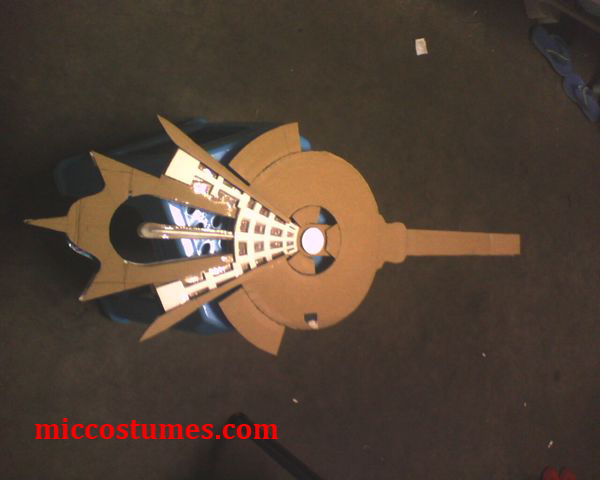
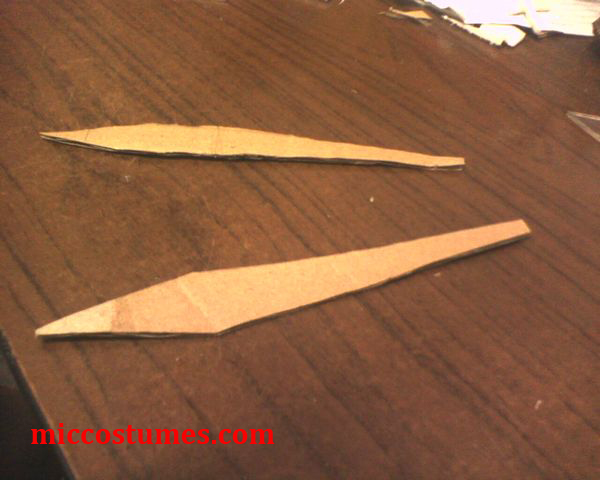
After the boards are dry, using a hot glue gun, stick the board together as you can see the 3d effects on the guitar. Don’t forget to use the leftover board to cut out the guitar stick. You can use papers to stick on the board if it’s hard for to spray.

Then start painting your guitar with gold acrylic paint. But if you can’t see the golden colour yet, you can use yellow acrylic paint first. After it’s dry, paint with gold acrylic.

Paint the stick with black acrylic paint. You’re allowed to use spray instead of paint. As for the end of the stick, paint gold acrylic on it. After all the boards are dry, using the hot glue gun again, stick the guitar stick together with the main board.

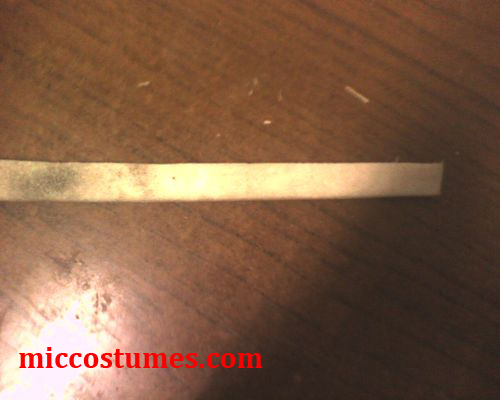
Paint gold acrylic again on a piece of paper and cut it into small rectangle. Then stick it on the guitar stick. FINALLY YOU’RE DONE!
——————————————————————————————————————
This is a guest post from Jing, entered in the Cosplay Tutorial Contest. Click here to check out all the participants and their scores, and more details about the contest, like the rules, how to join, the prize, etc.
Author Bio:
Name: Jing
Gender: Female
Nationality: Bruneian
Personal Blogs & Social Networks: blogger
Comments about the tutorial: An easy and cheap way of making Rin Meltdown Guitar. Hope you enjoy the tutorial!

