Not long ago I posted tutorials on how to make Tanjirou earrings and Nezuko makeup. Since Christmas is coming, this page shows you how to make a Santa hat easily and quickly. Two simple ways are available. Choose one base on your preference!
How to make Santa Claus caps with fabric?
*Tutorial comes from Skip To My Lou. To get a DIY Santa hat, you’ll need these materials:
- A Santa hat pattern
- 3/8 yard fleece fabric
- 1/8 yard fleece fabric with fur look
- A large 3 inch pom pom
- A pair of scissors
- A needle and some thread
- Download this pattern and print it on a white copy paper. Cut out these pattern pieces and then tape them together.

2. Lay this pattern on the fabric. Then cut out the pattern on the fold of the fabric. Meanwhile, you can prepare a piece of 22″ trim via the 1/8 yard fleece fabric.
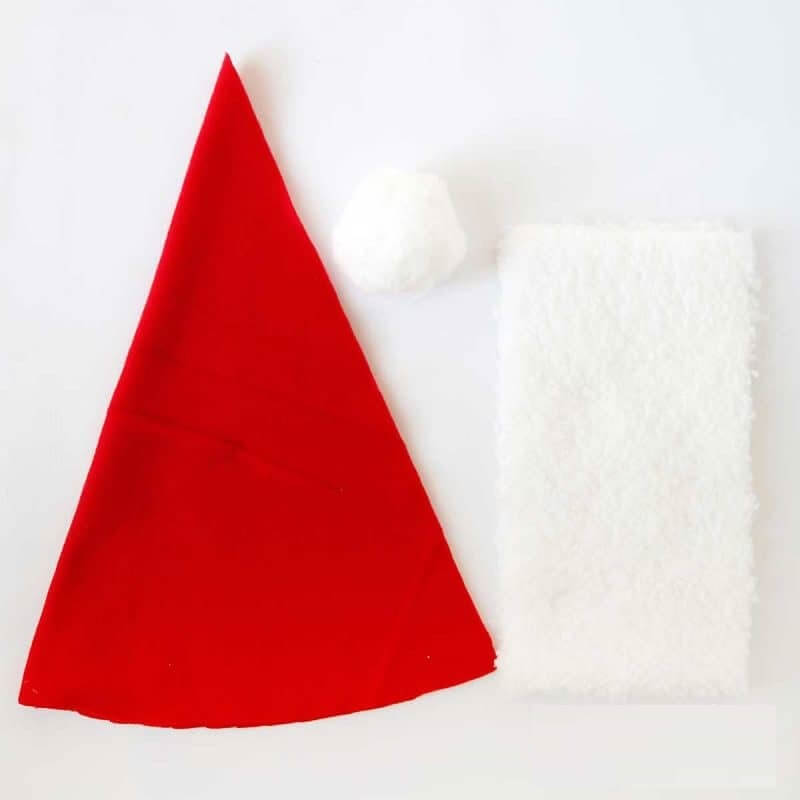
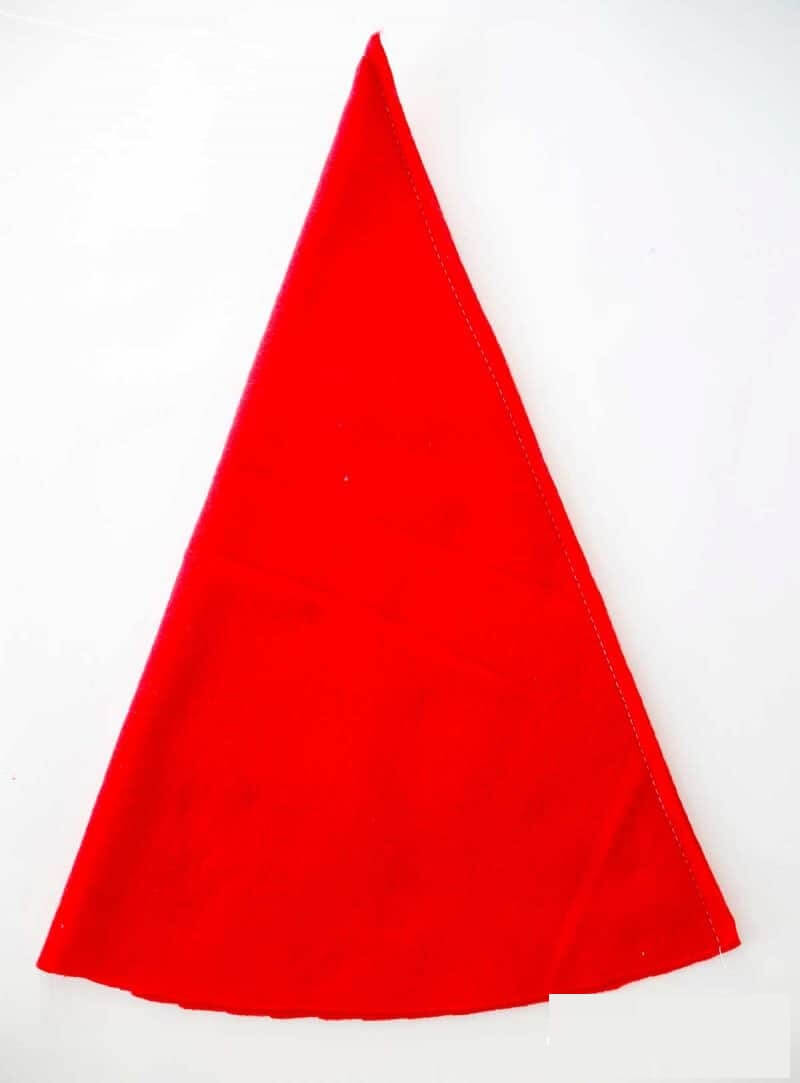
3. Sew the right side of this folded triangle as shown below (1/4 inch seam).
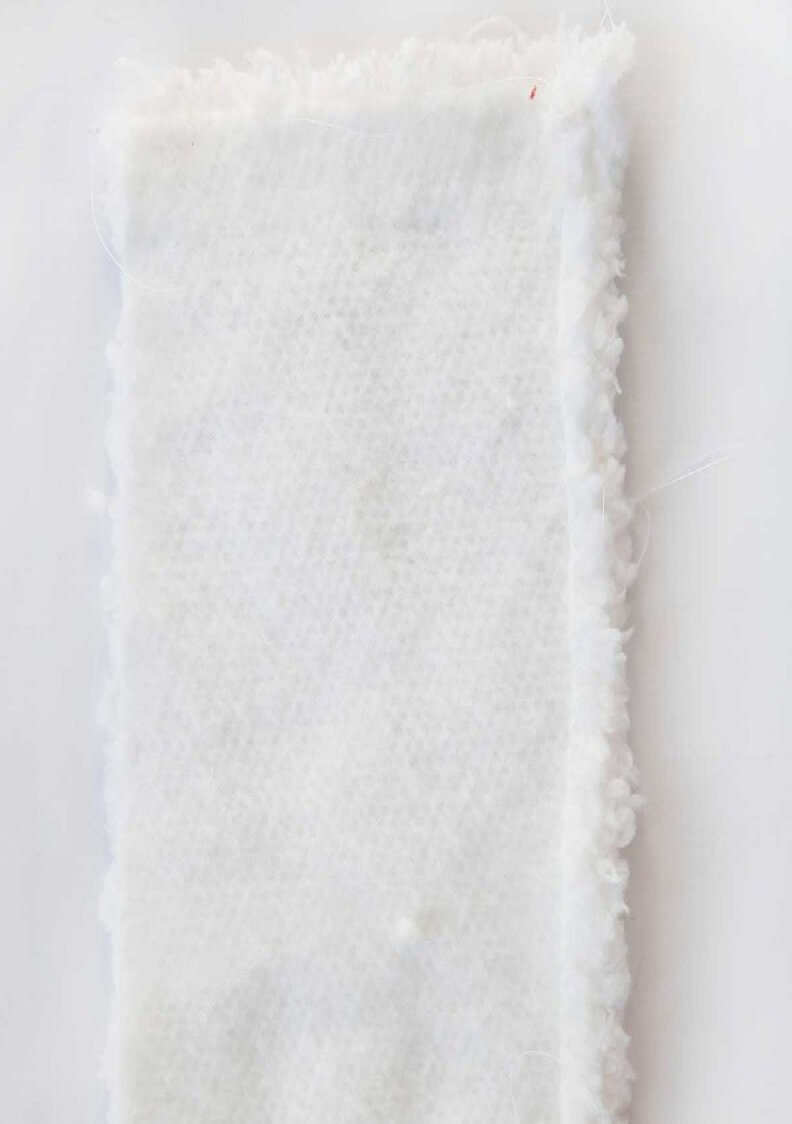
4. Stitch the edge of the trim. About a half inch is enough. Ensure that the stitch length is about 5.
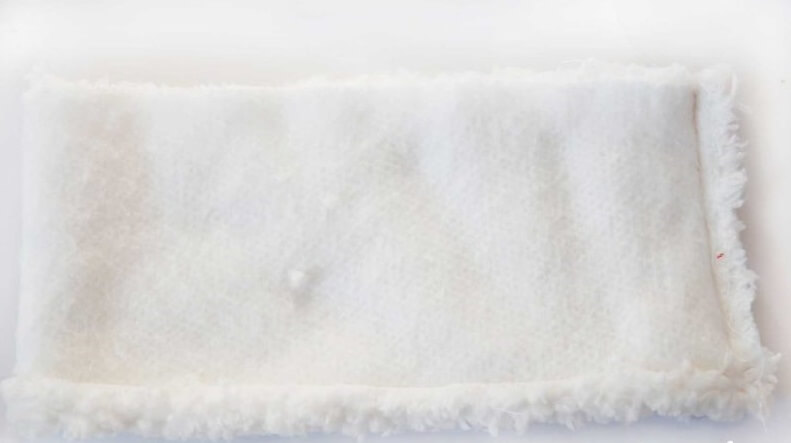
5. Fold the trim in half to stitch the right sides together (1/2 inch seam) .
6. Turn the inside surface of the red hat outward. The trim should be placed inside and aligned with the edge of the hat. Refer to the picture below to place the trim accurately.
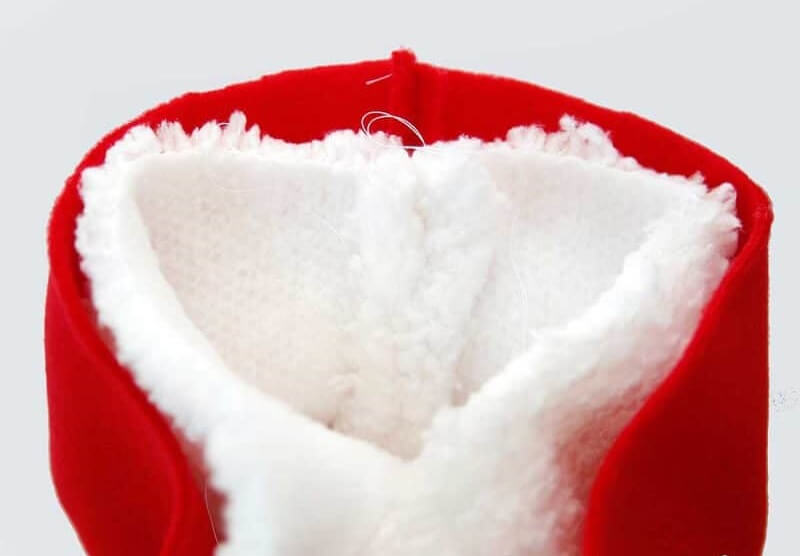
7. Sew them together (1/2 inch seam).
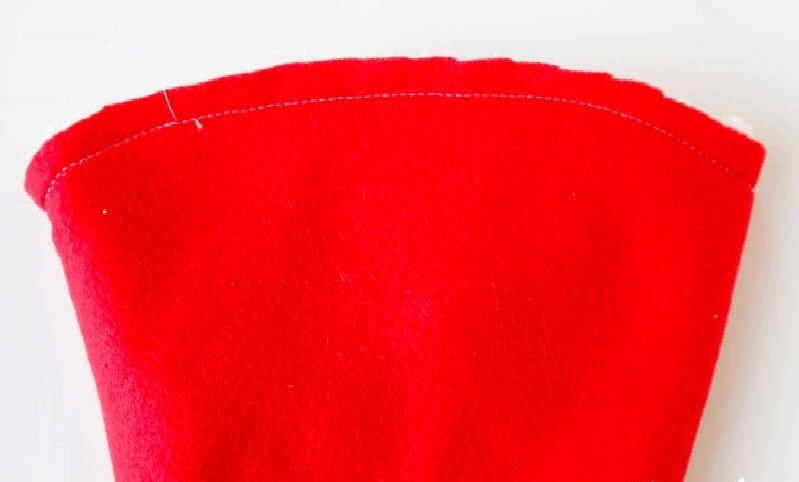
8. Fold the other end of the trim out of the hat. Then sew the pom on top of the hat.
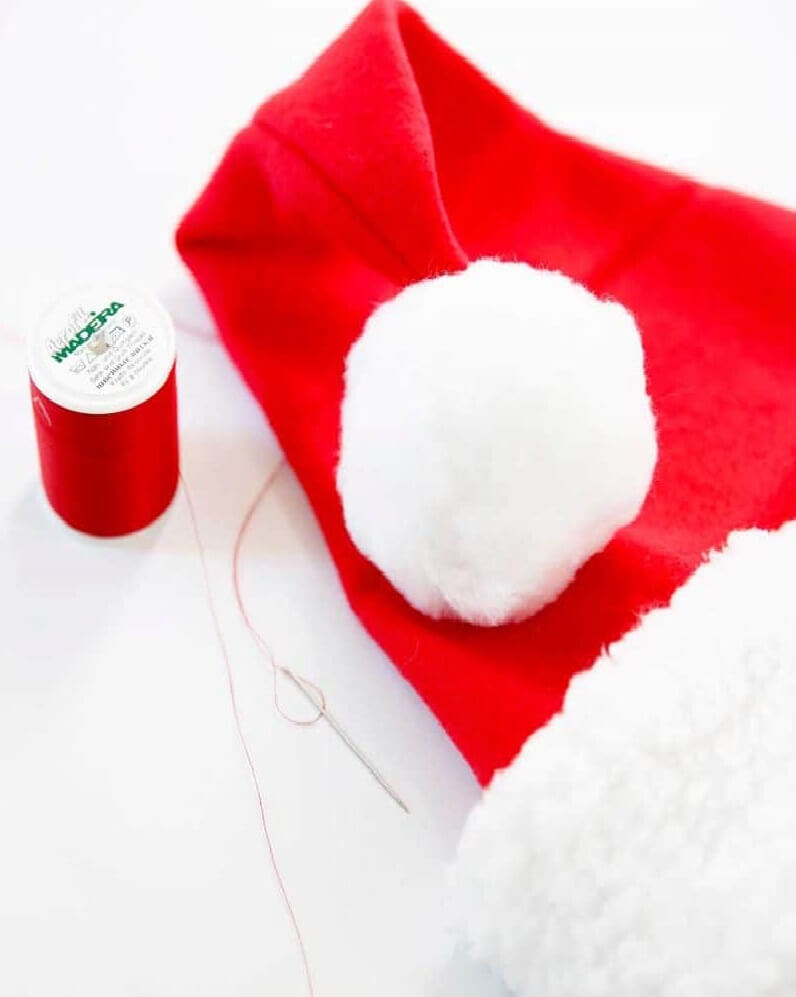
If there is no fabric, then turn to the next method.
How to make Santa caps via paper?
Preparations:
- Various colors and types of paper
- A stapler
- A pair of scissors
- Super glue
* Check the video tutorial from Crafts Now to get the detailed instructions:
https://www.youtube.com/watch?v=z8U_gr8Vb4g
Now you know how to make a Santa hat with two easy methods offered in this page. A Santa hat can make your Christmas cosplay more perfect. You’d better hurry up to create one! By the way, if you are looking for excellent quality Christmas costumes with good price, Miccostumes can be your ideal choice.
