Welcome Eireenene, a cosplayer and also our new blog writer now. She will contribute many valuable how-tos and cosplay content to our blog.
Cann’t wait to see her articles? let’s take a look at what she is sharing below.
 What you will need for creating a hooded cape:
-Some fabric you like, from black to violet, but always dark!
-A chalk pencil.
-Some kind of hood to take the shape from.
-A pencil.
-Some scrap of paper.
-A ruler (not pitcured, ops!) 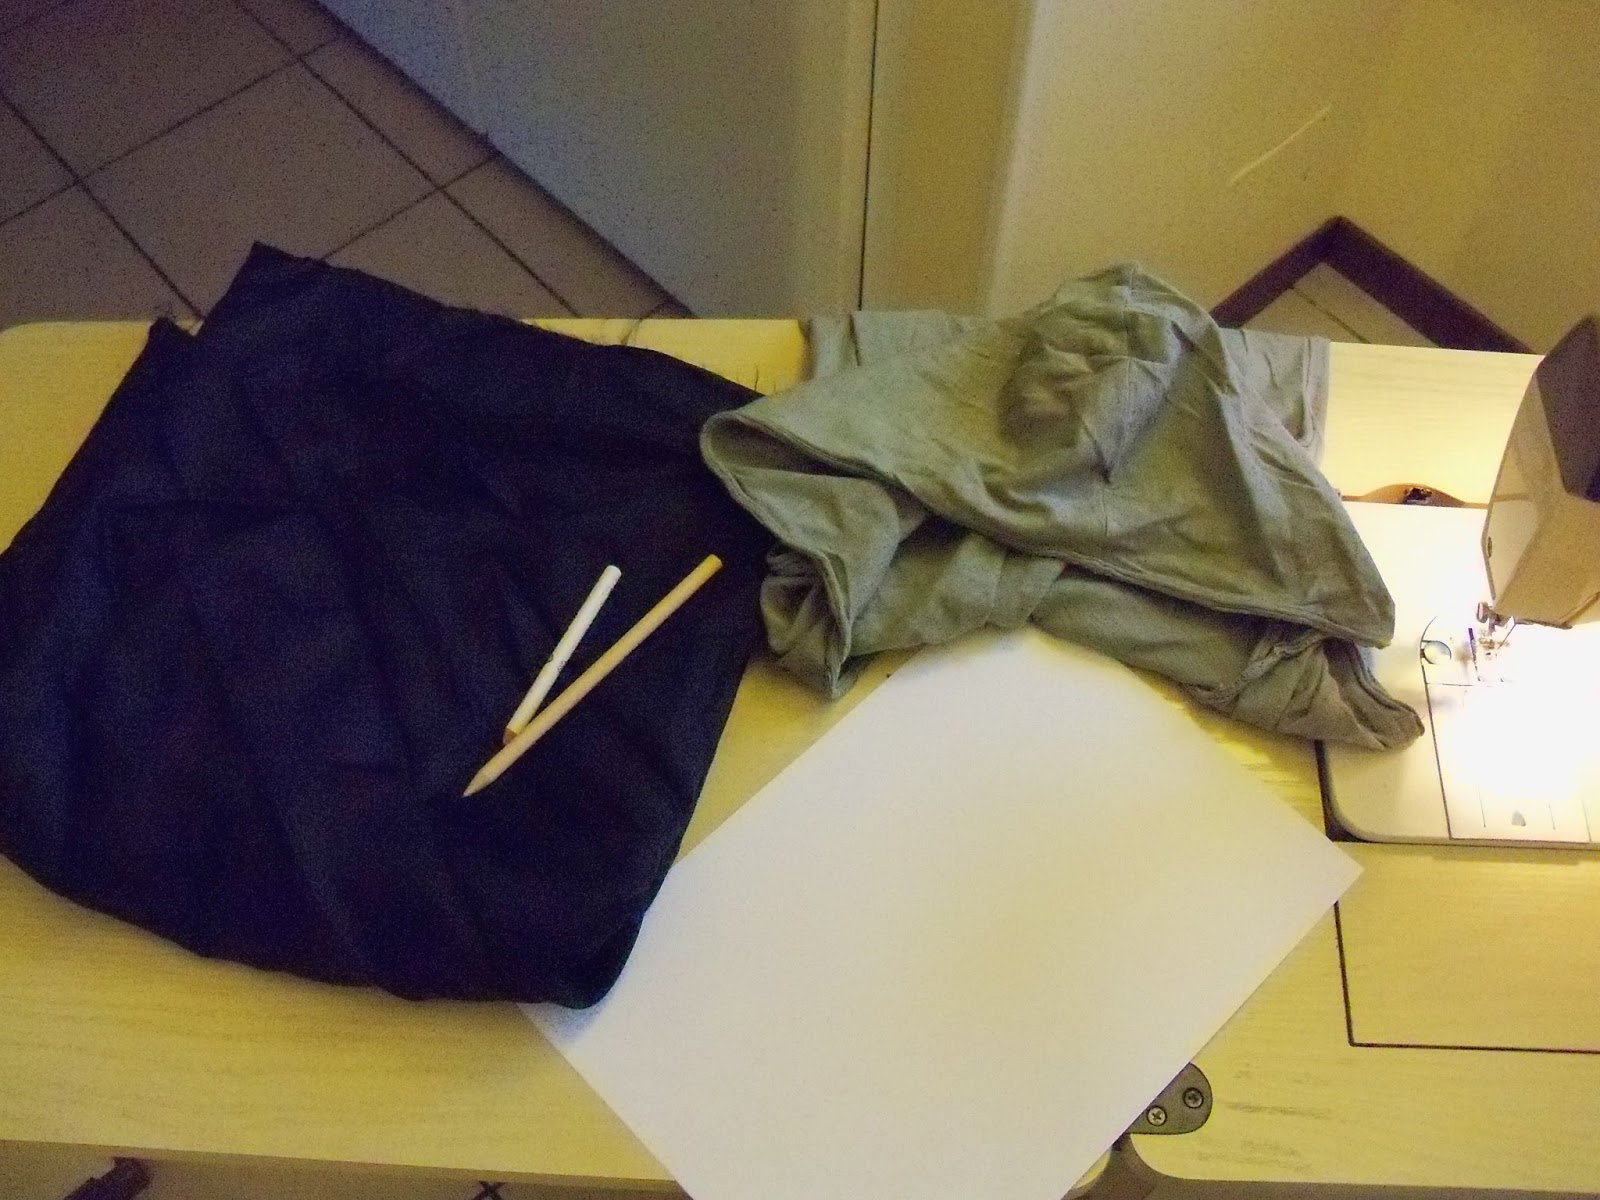 Start of with your fabric folded.
We’re doing a half a circle, so we need only 1 fold to do it.
If you fold it 2 times, you will have a whole circle!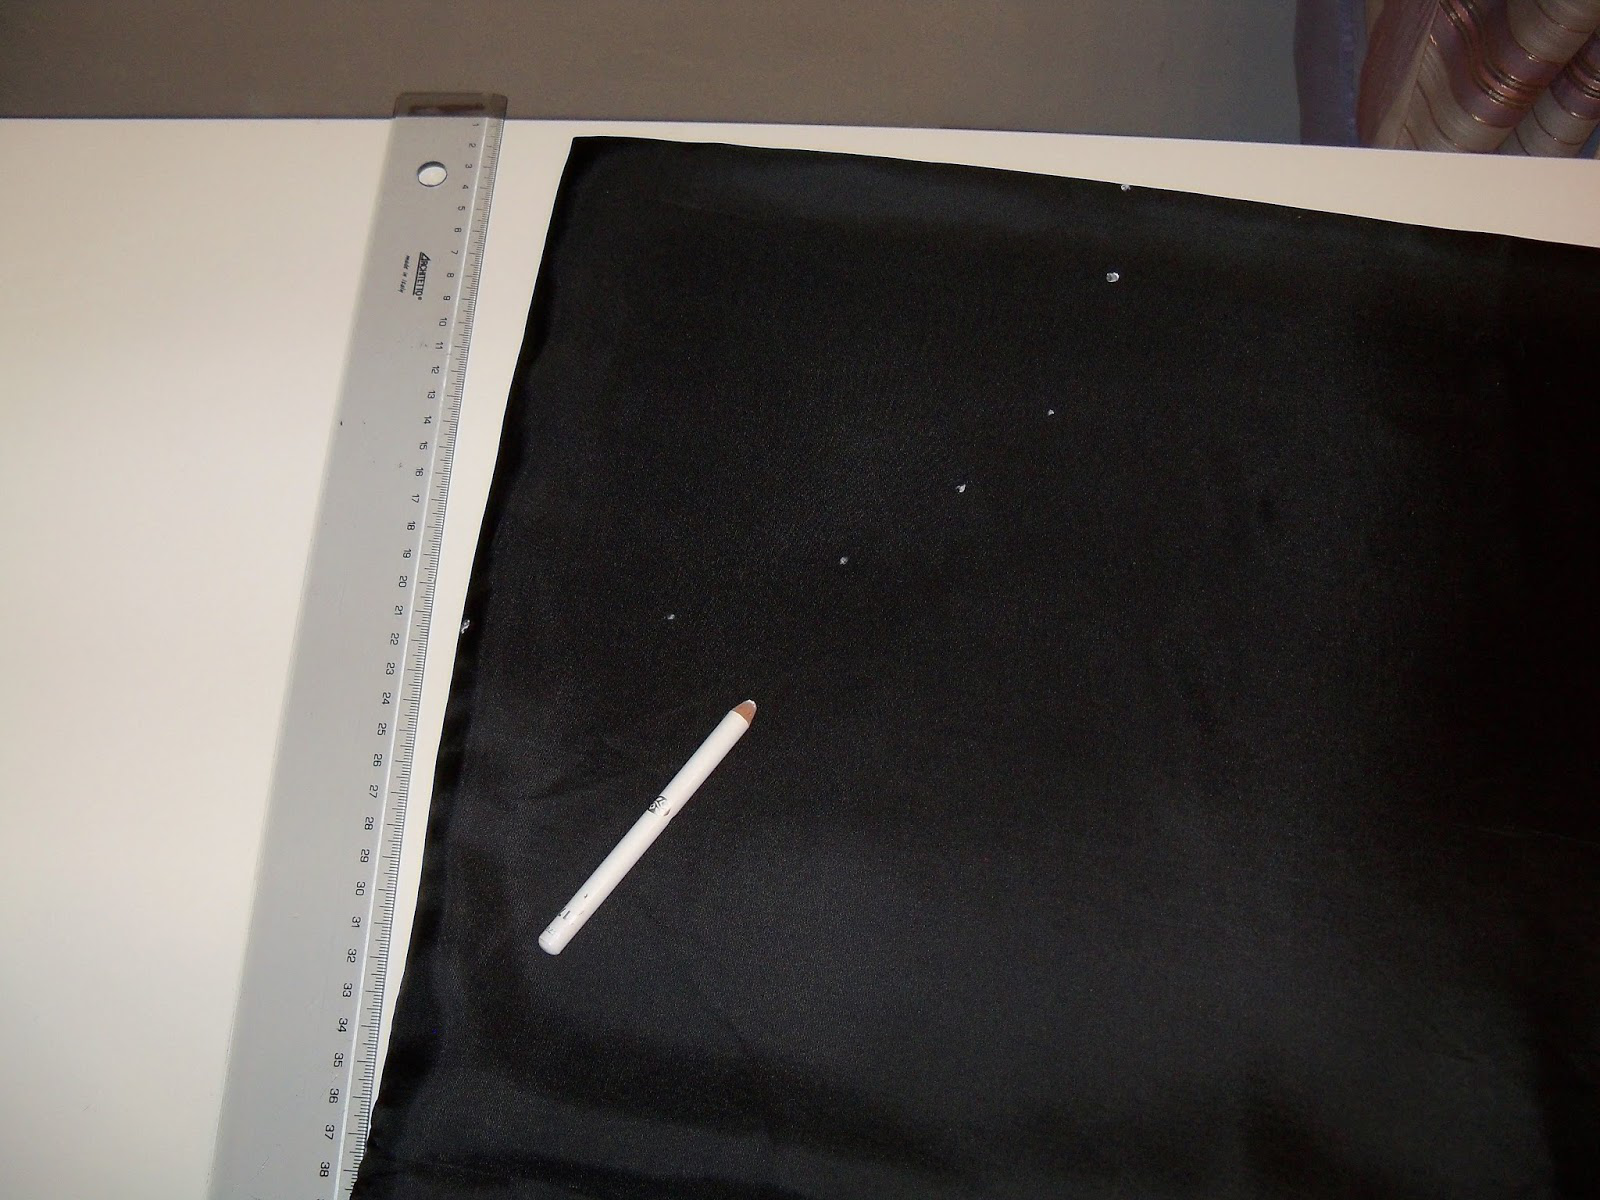 Take your chalk pencil and mark 15-20 cm starting from the corner of the folded fabric with small dots, forming a quarter of a circle.
Pay attention not to move around the ruler, or you will lose the center!
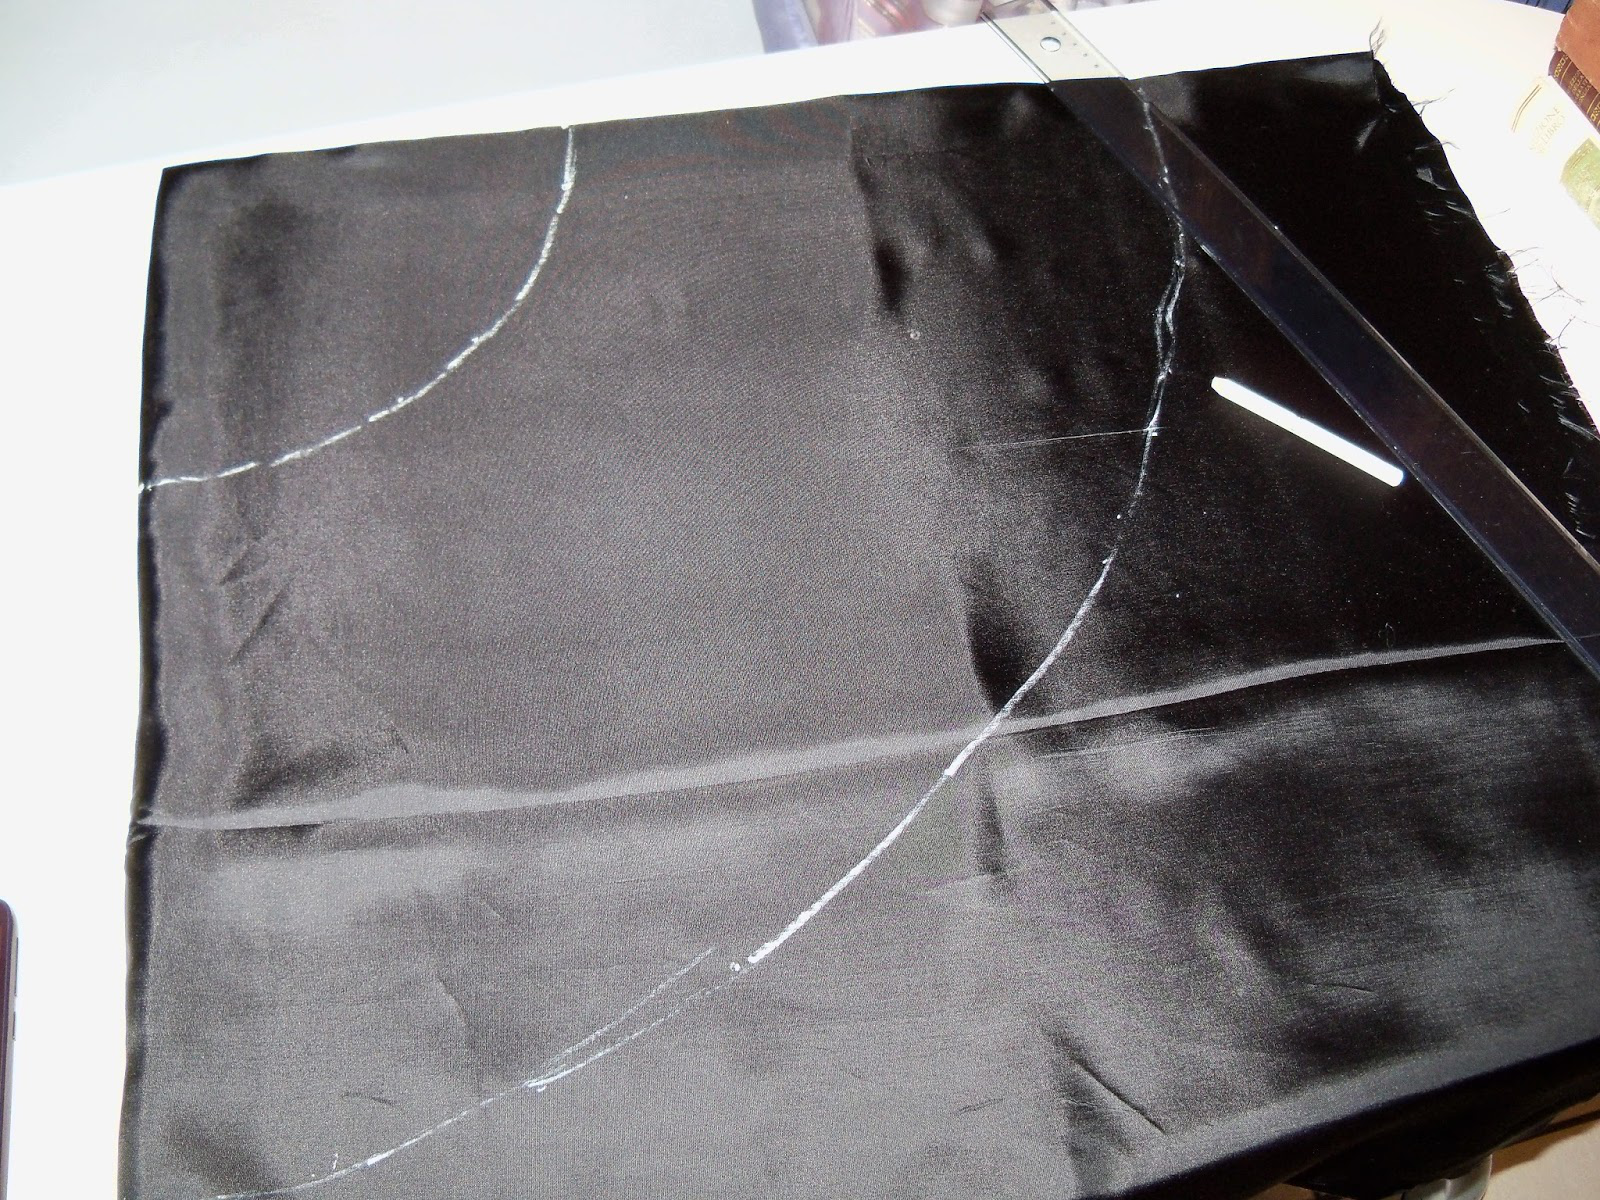
Now do the same, but with your desided lengt of the cape!
I choose about 50 from the corner of the circle.
Trace roughly both of the line, connecting the dots you made!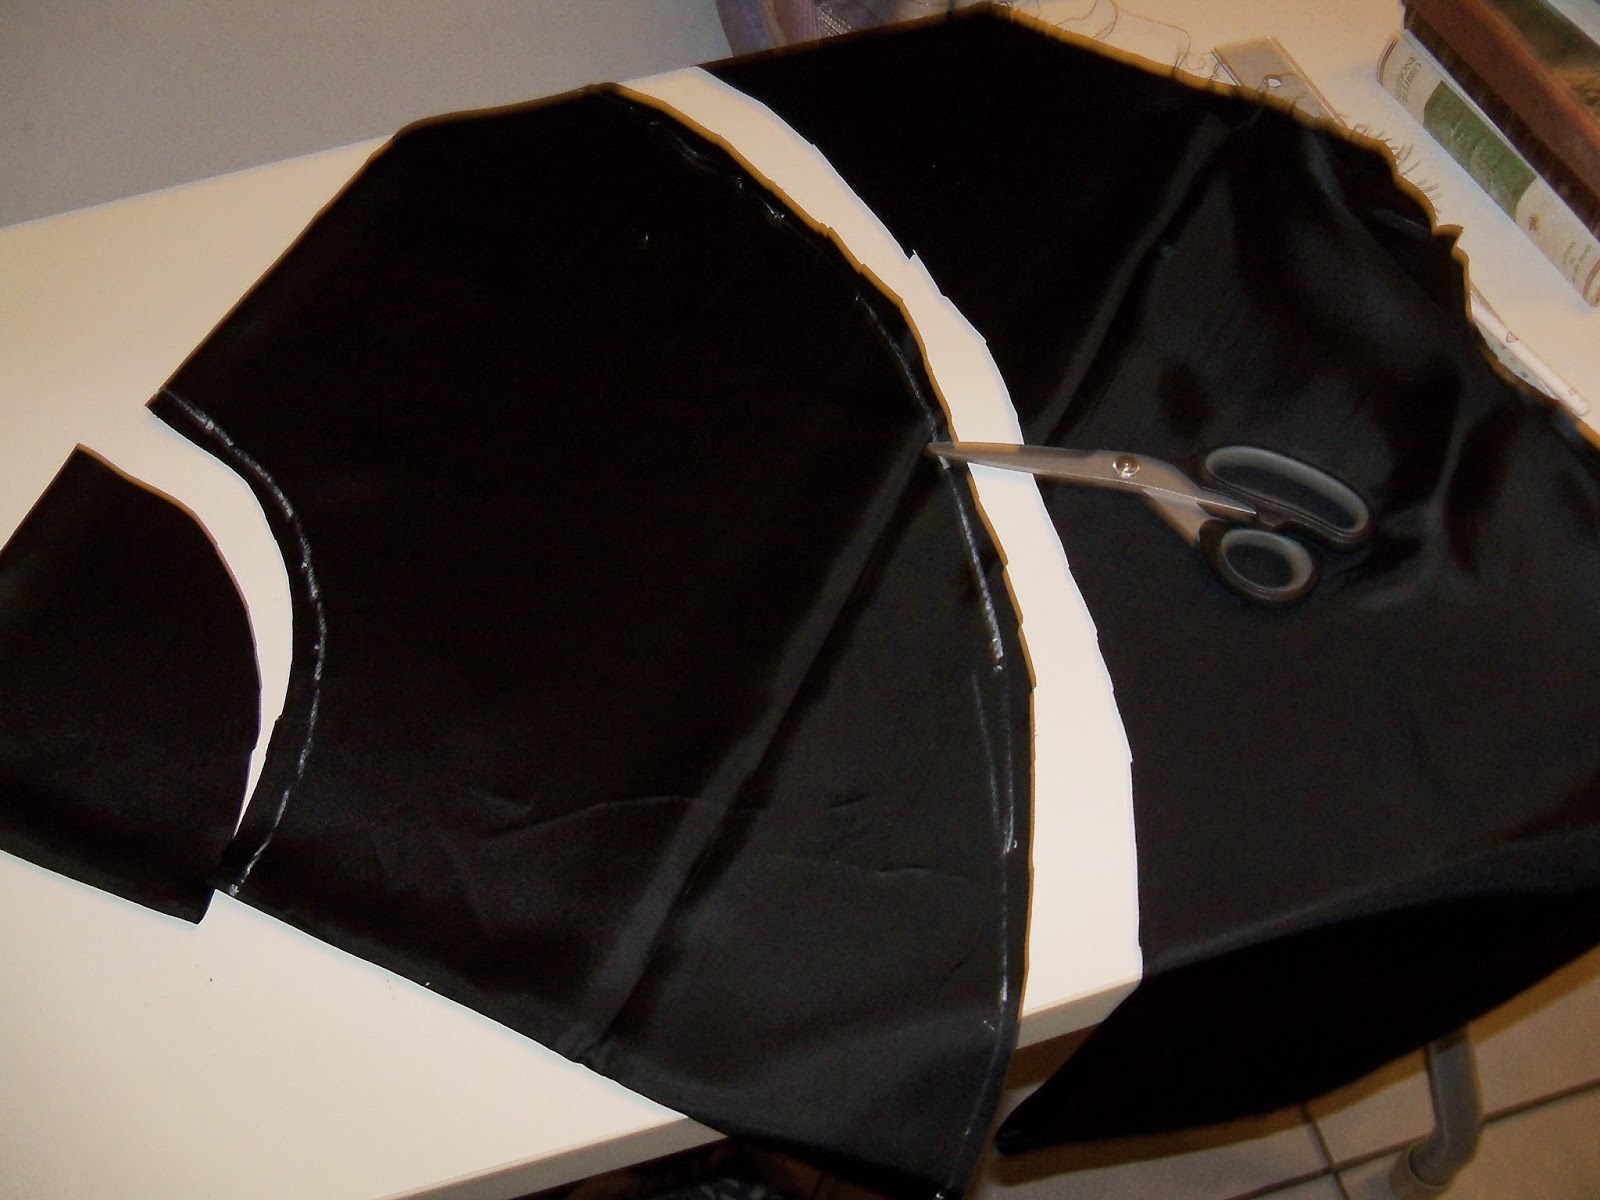 Cut it out now!
And leave at least 1 cm for sew allowance. This is what you will get.
Hem the outer circle and the straight lines! 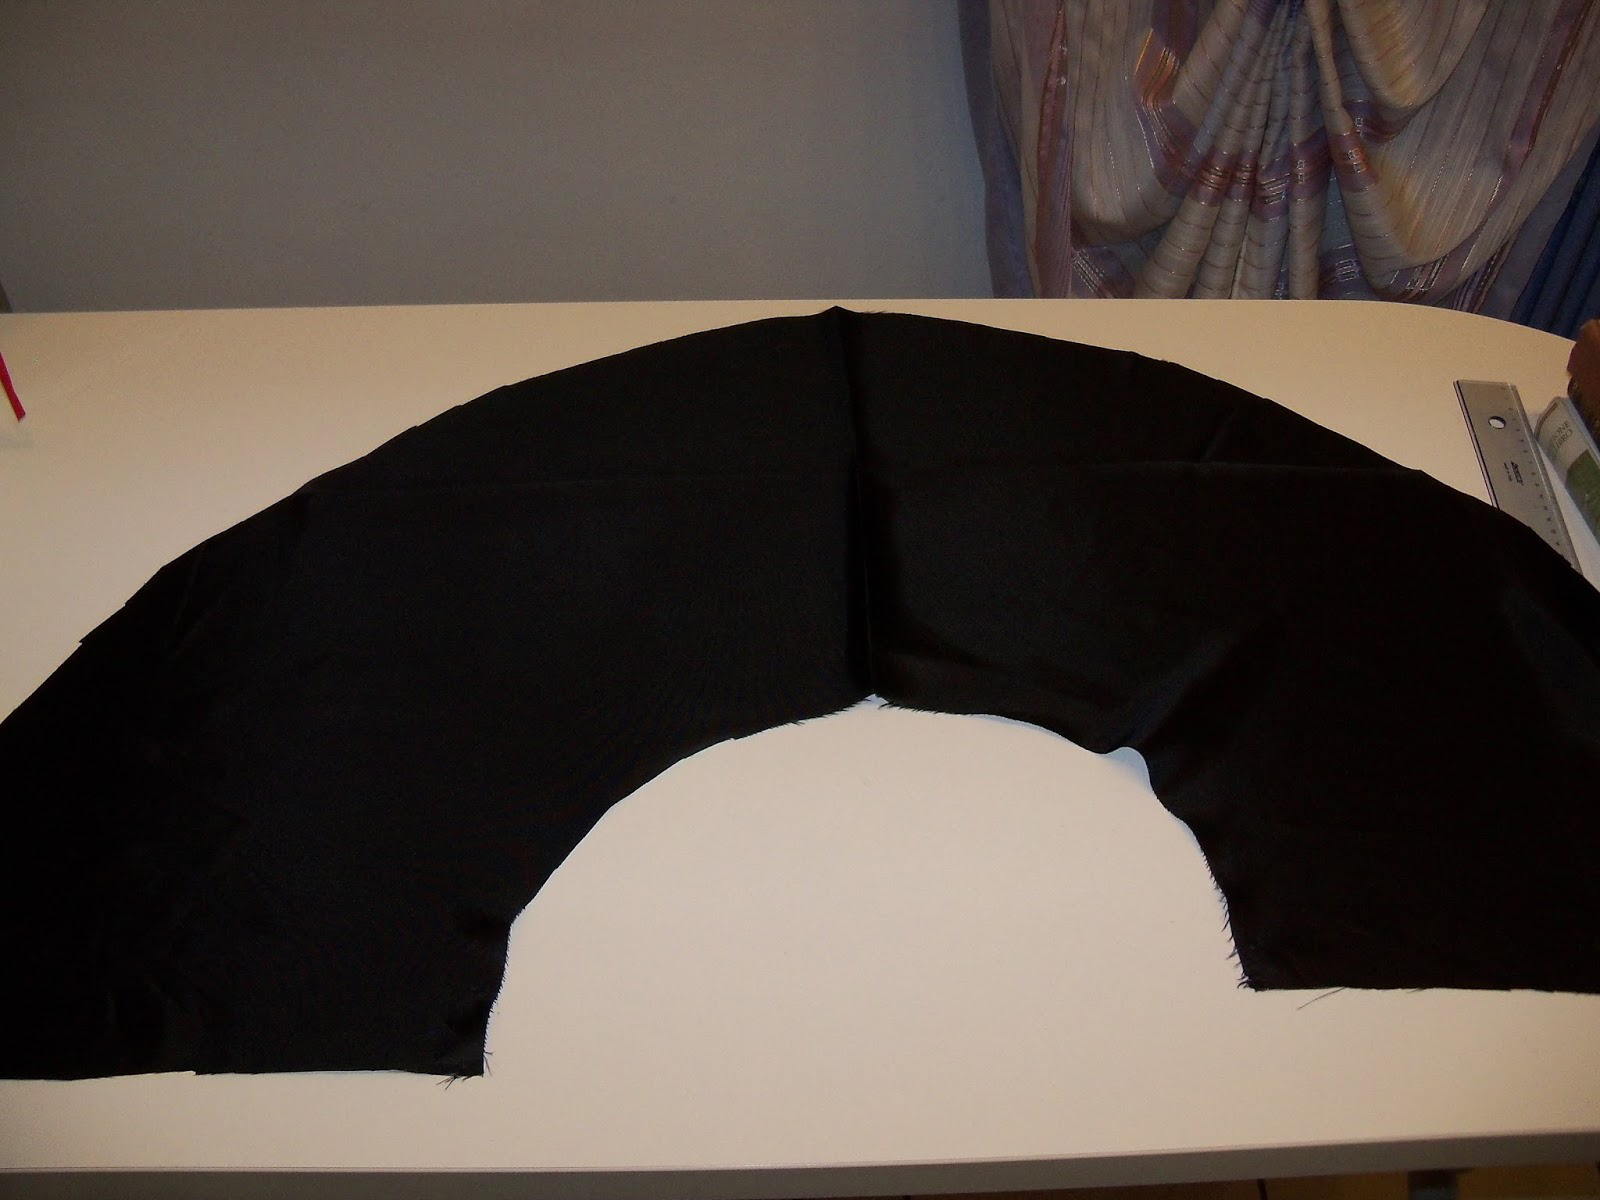 Now, take your hood and trace it on paper!
I used 3 A4 sheet pasted together with some tape, to have enough space for it.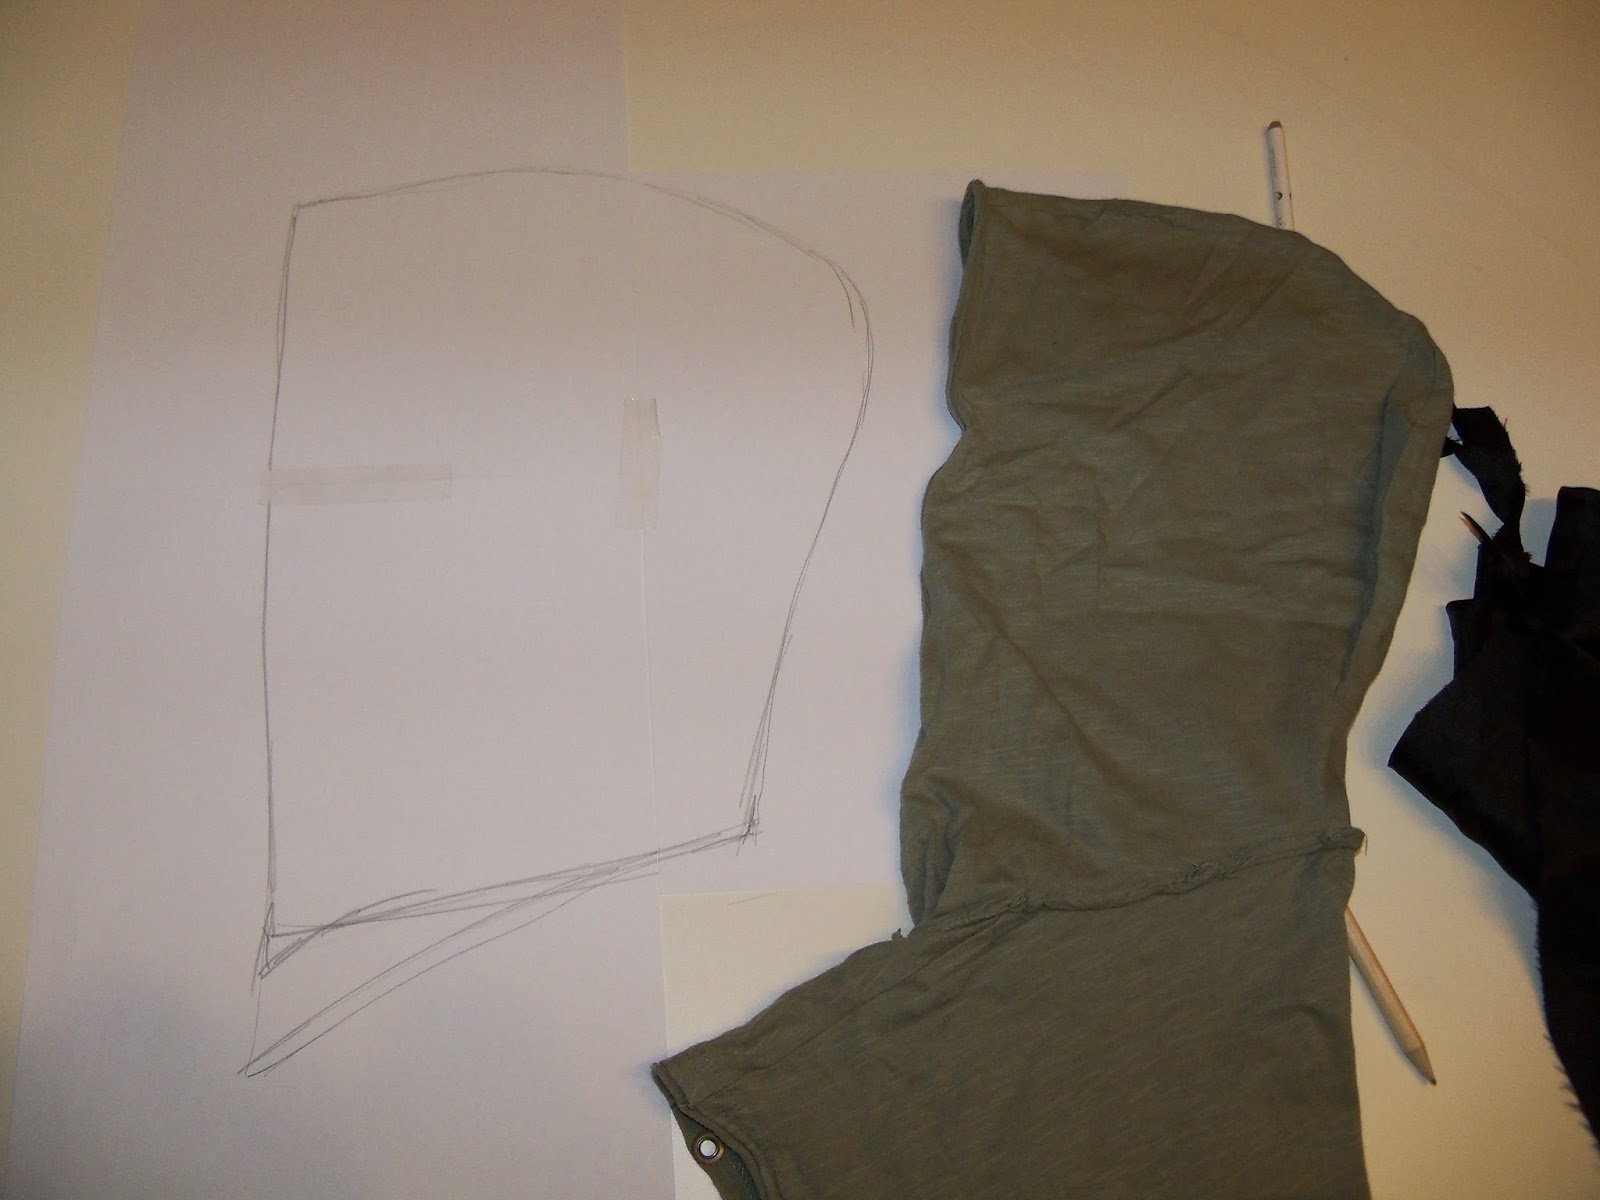 Cut the paper out and trace the shape onto the same fabbric of the cape with the chalk pencil!
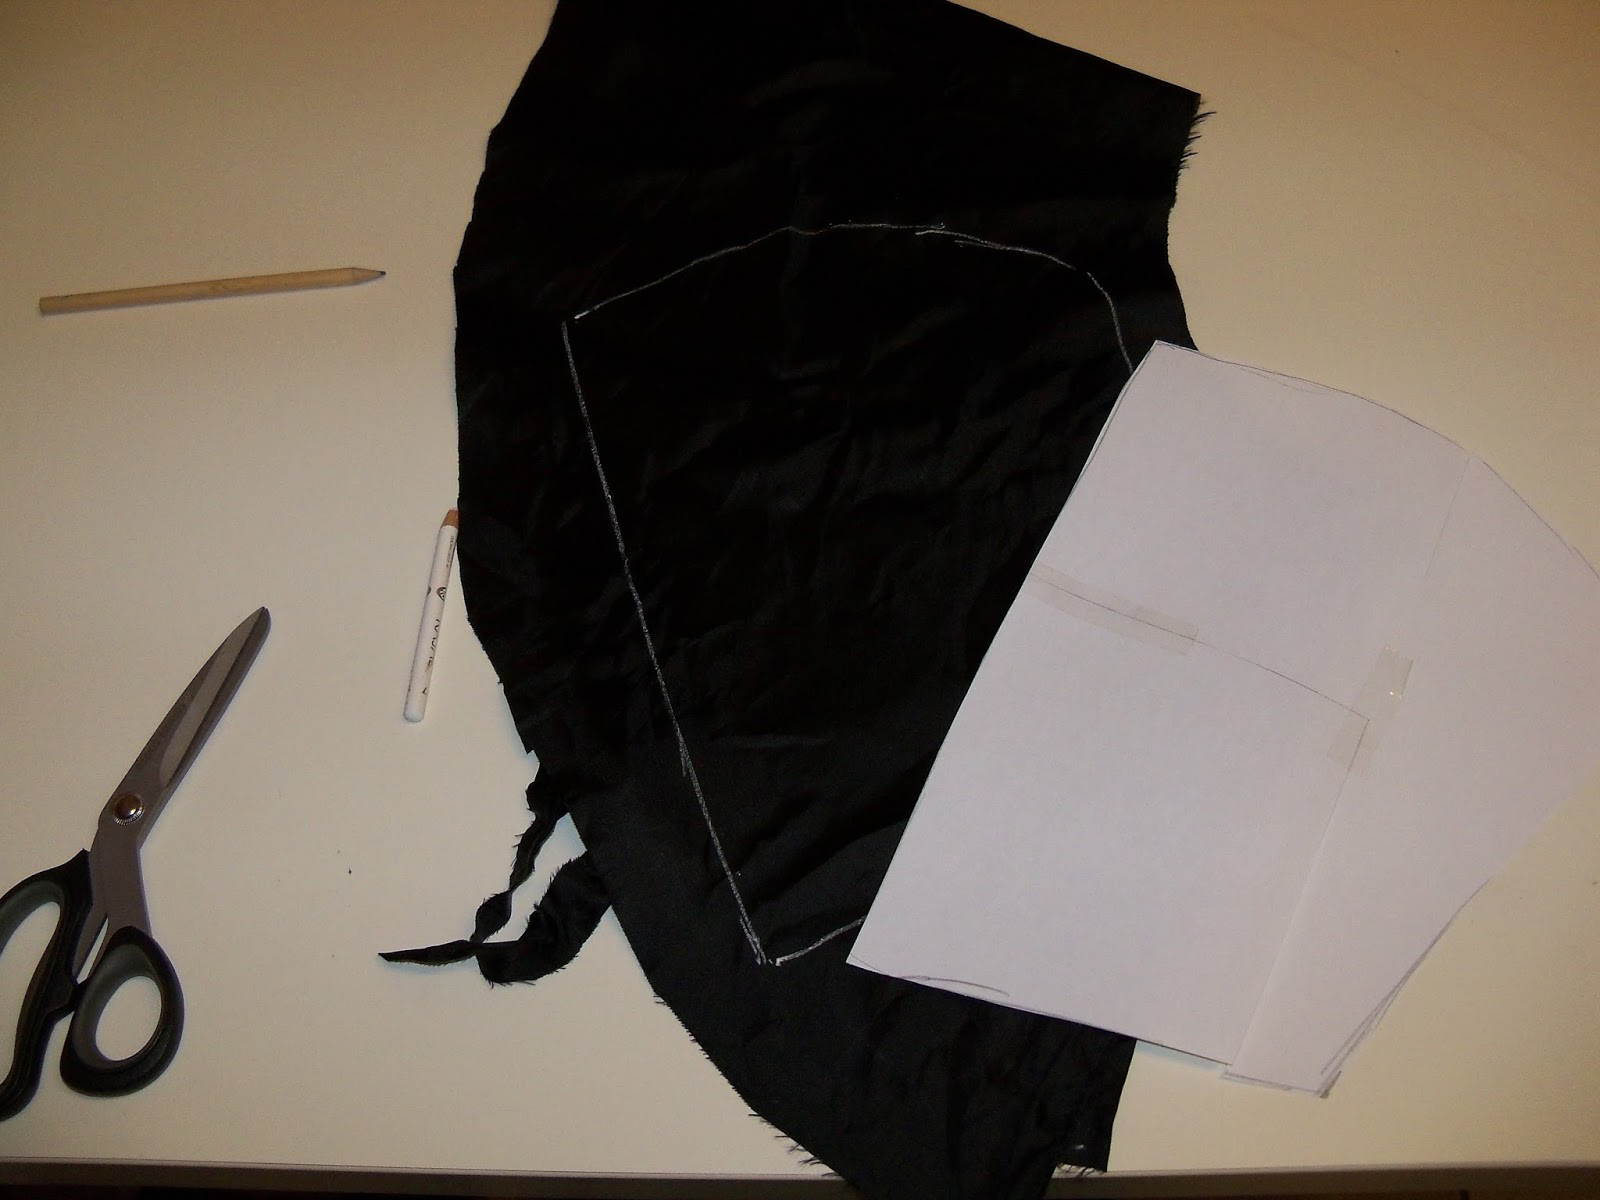
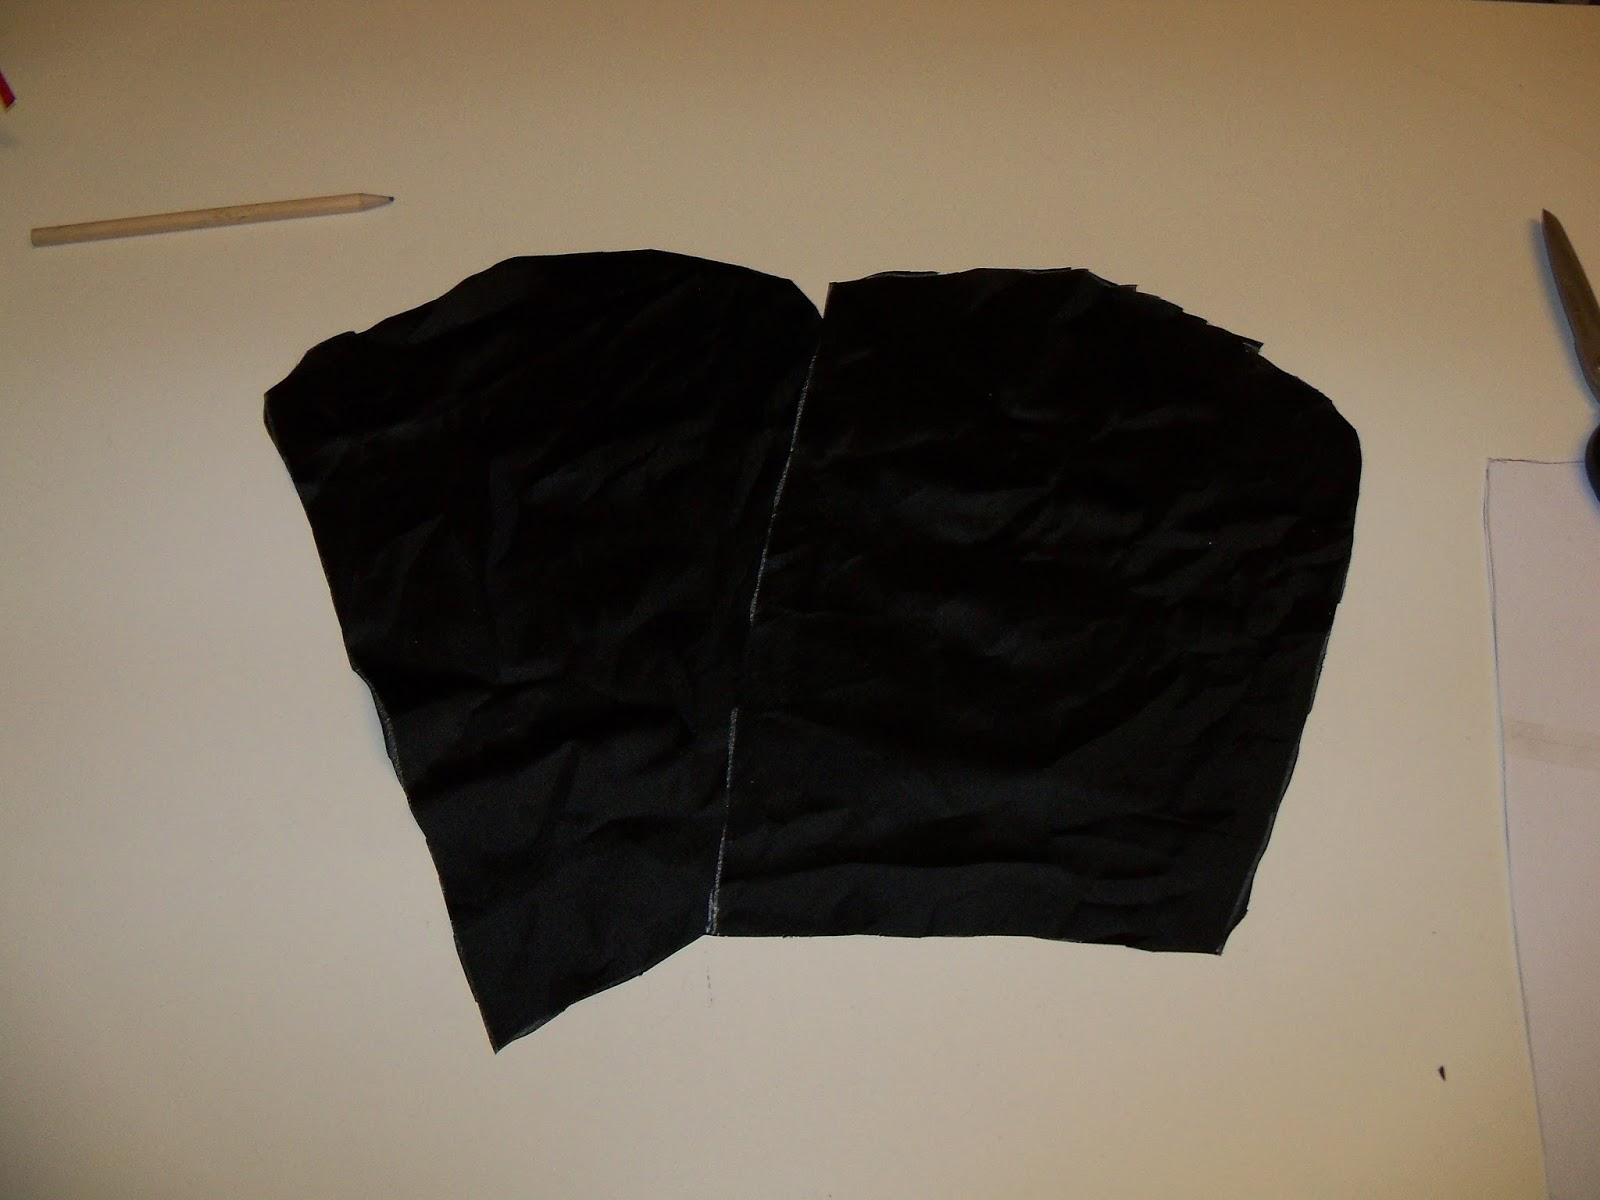 Cut the hood out.
Try to leave 1 cm for sew allowance here too! 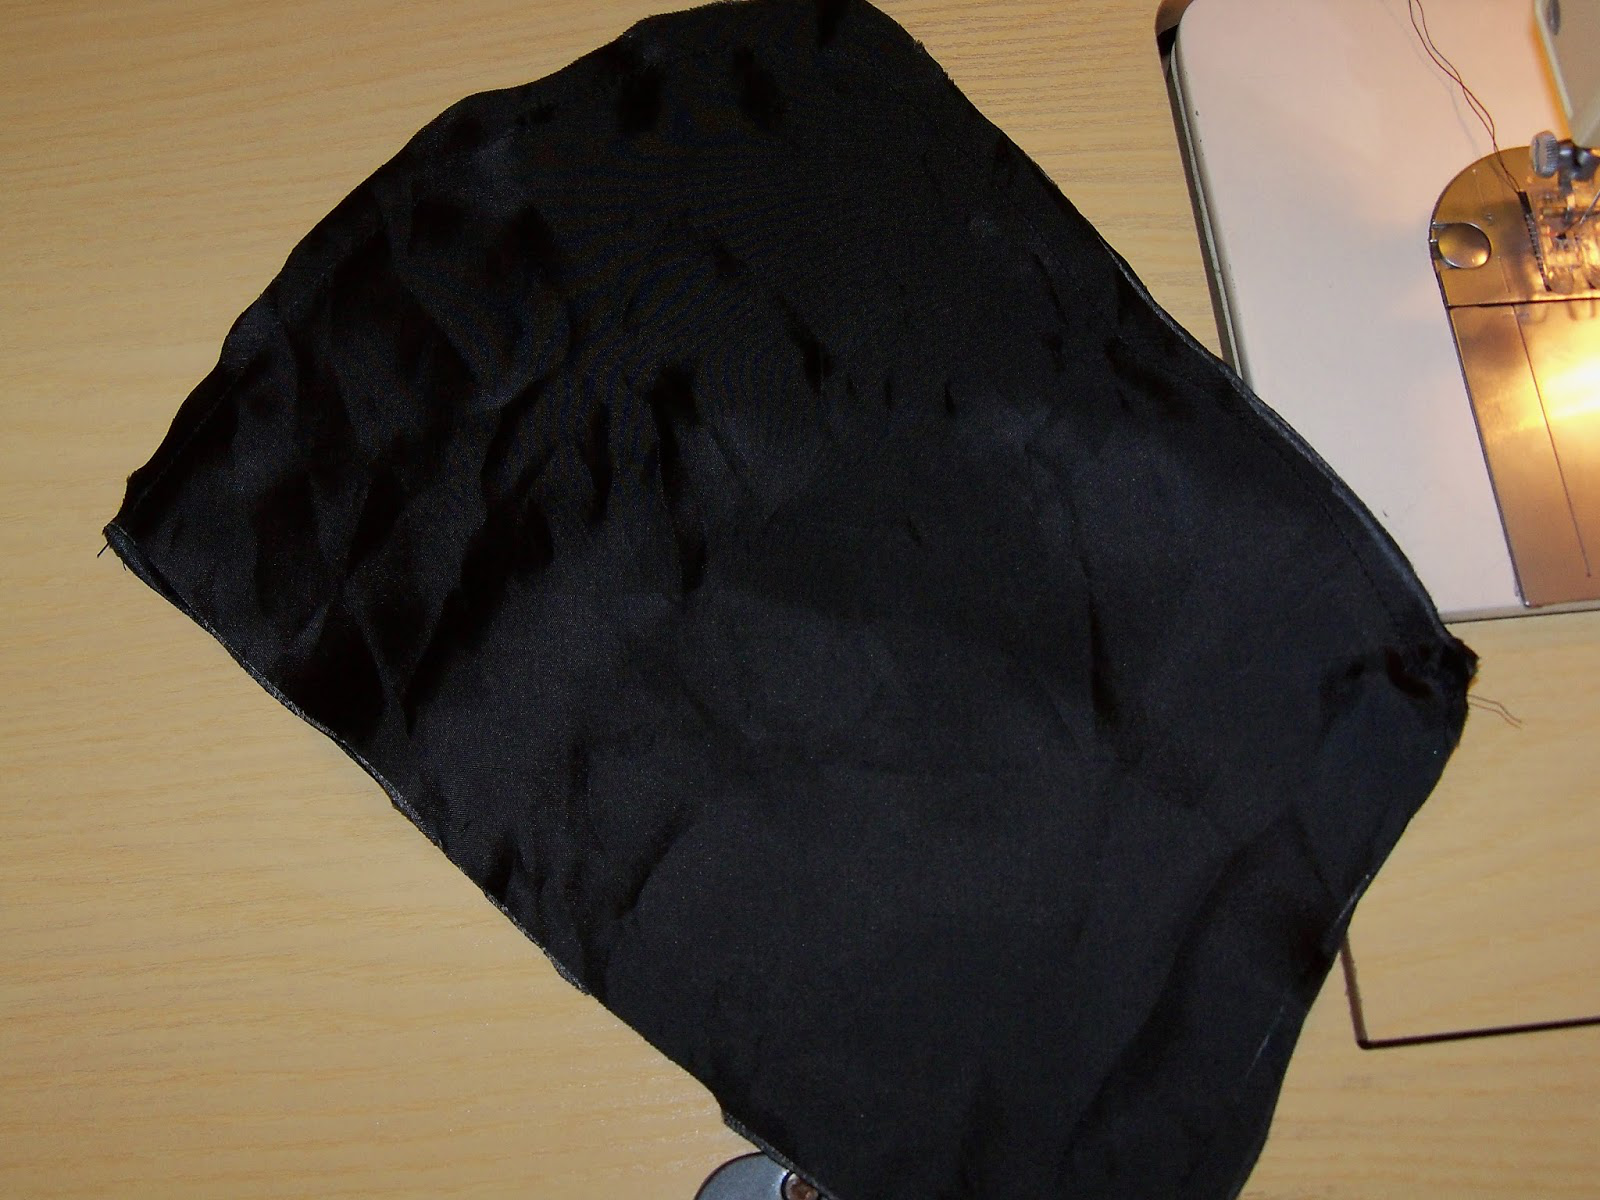 Sew the hood togheter, then hem the straight line here too!
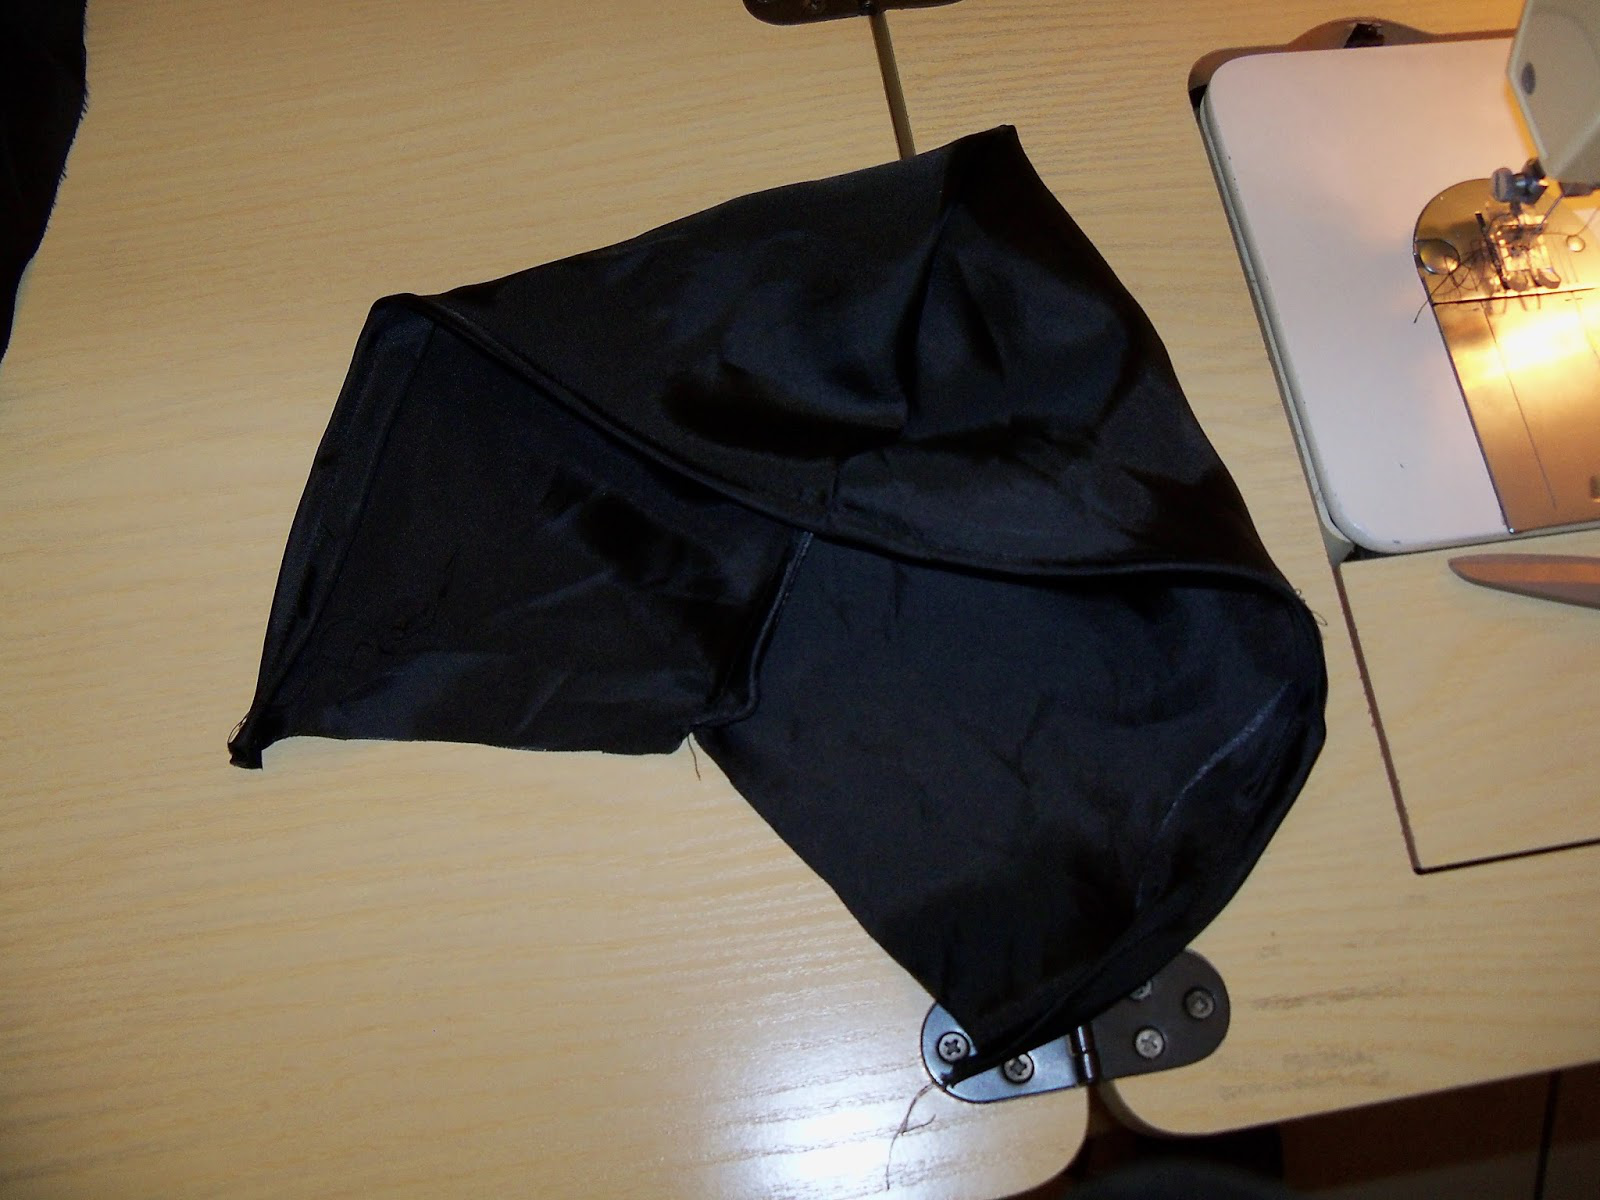 Turn it inside-out and you should have something like this!
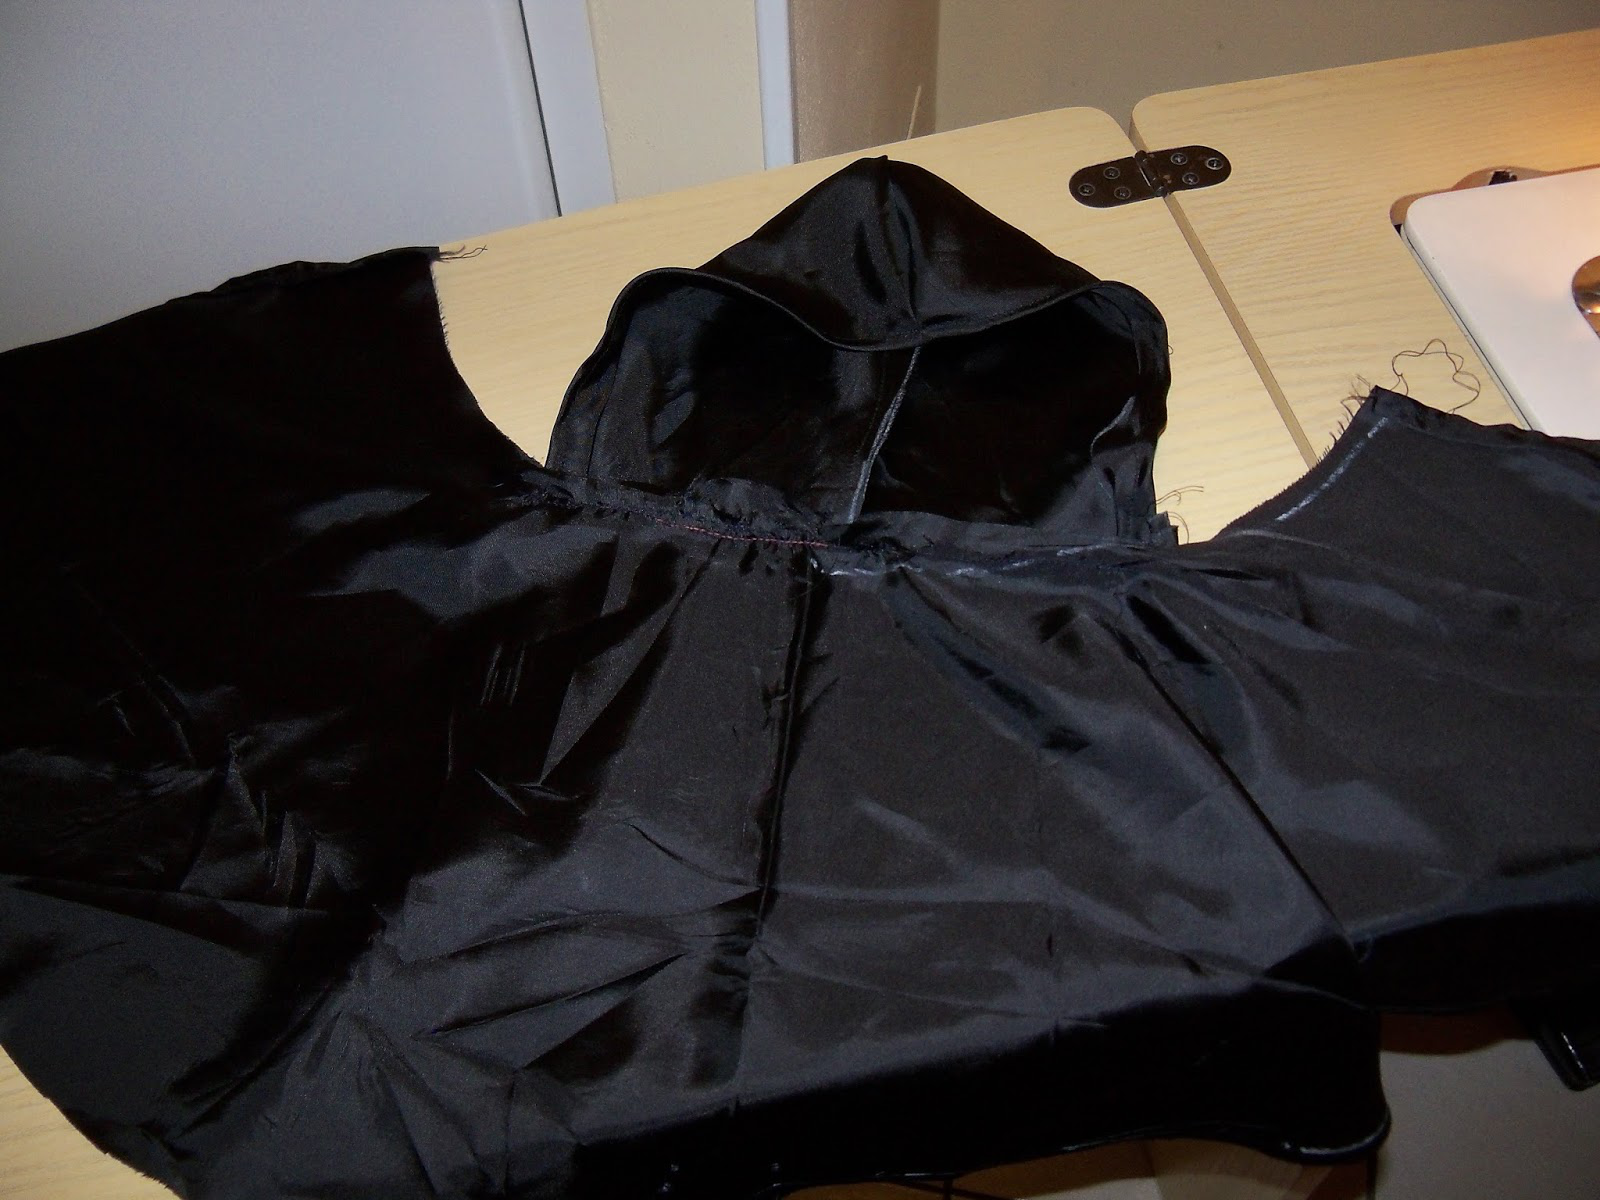 Now, sew the hood to the semicirle:
match the center of the hood with the center of the semicirle and pin it in place. Sew it.
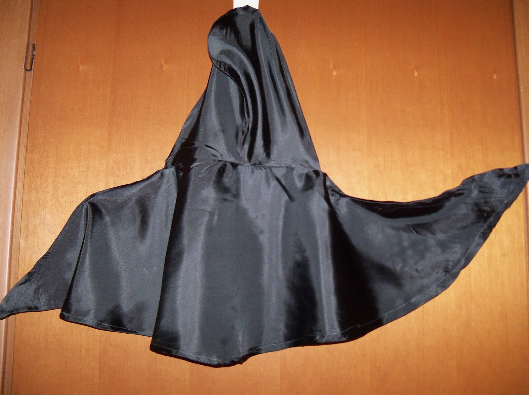
In the end you should have something like this! 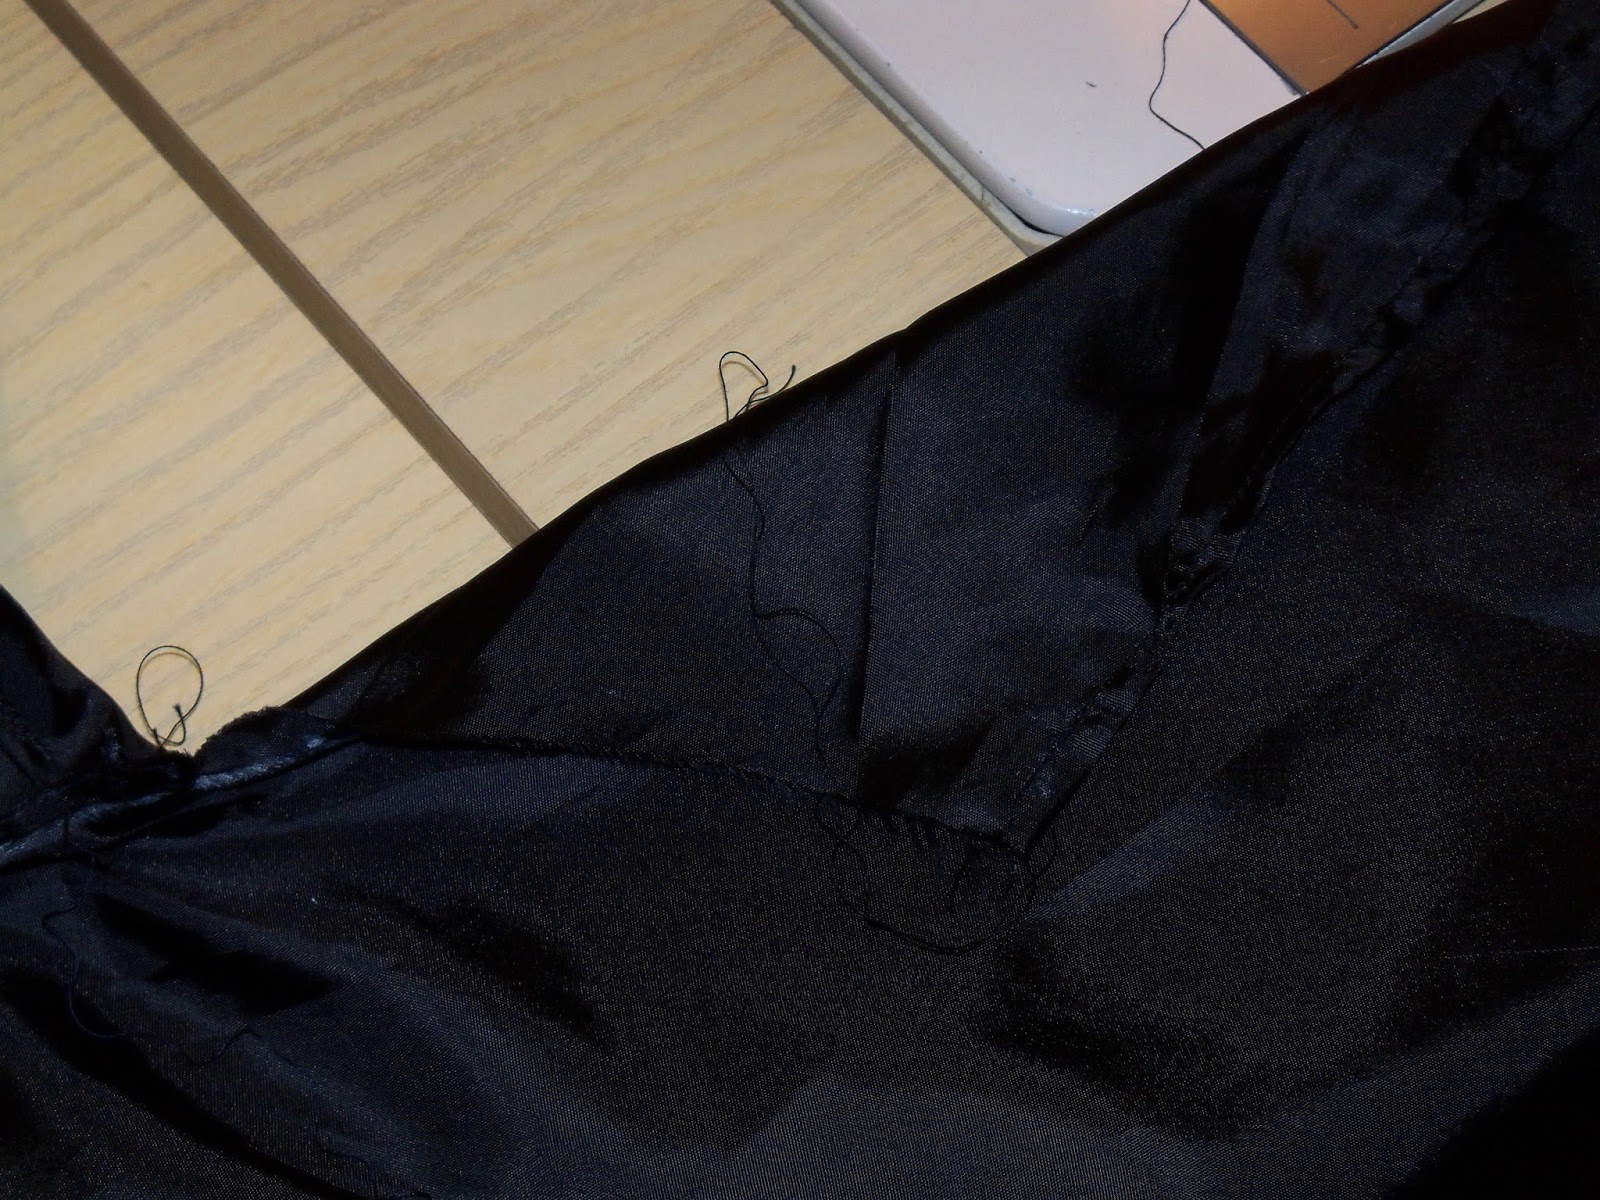 To make the bat shape, fold the left over fabric near the hood into a triangle, pin it, and sew it flat. If needed cut of the excess fabric!
 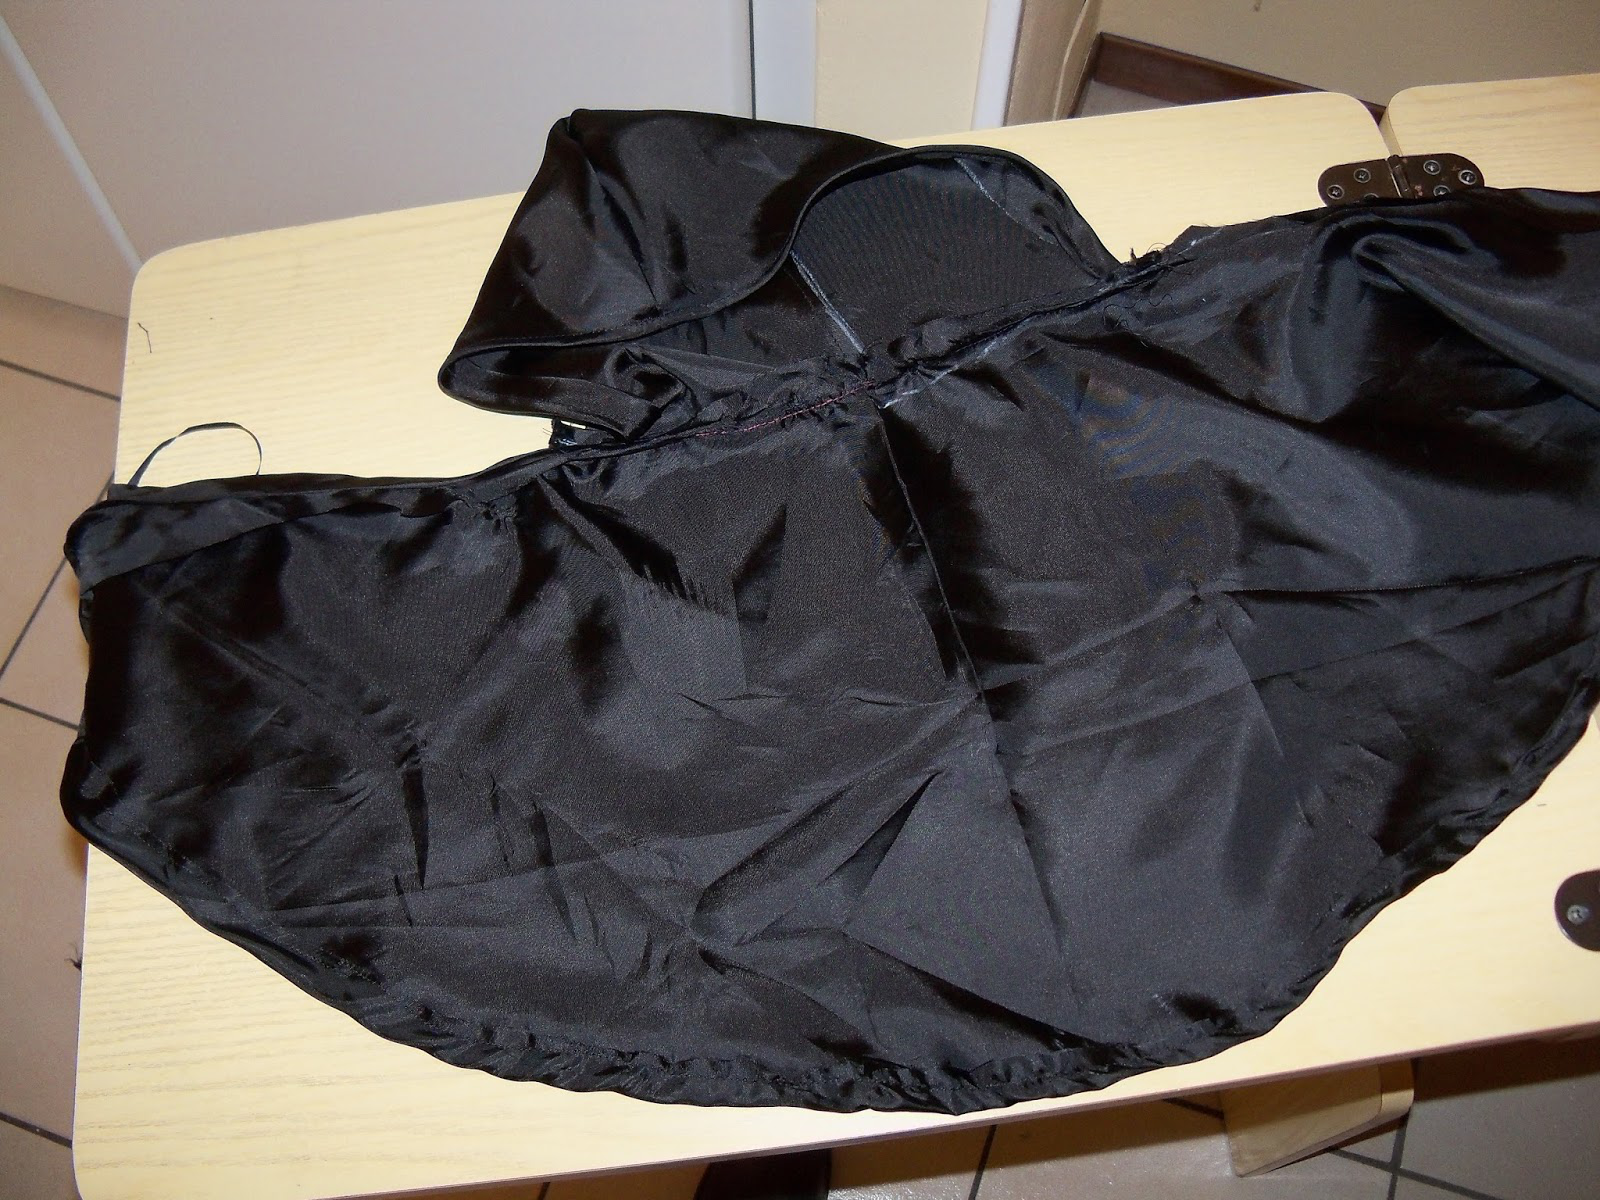 In the end you should have something like this!
A hooded cape with some big wings.
If you want you can leave of the triangular shape and have a normal circular cape instead!