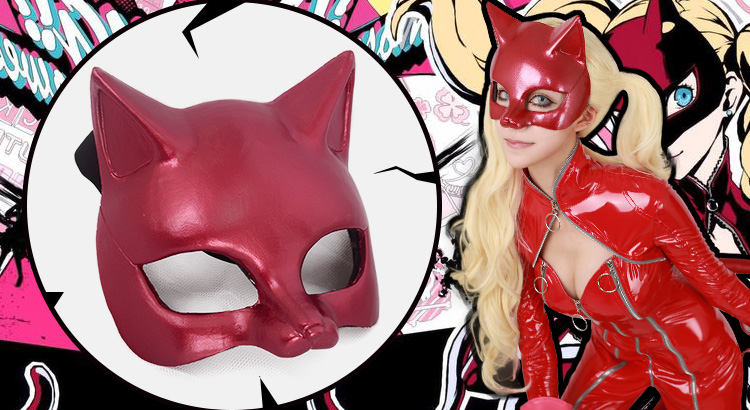
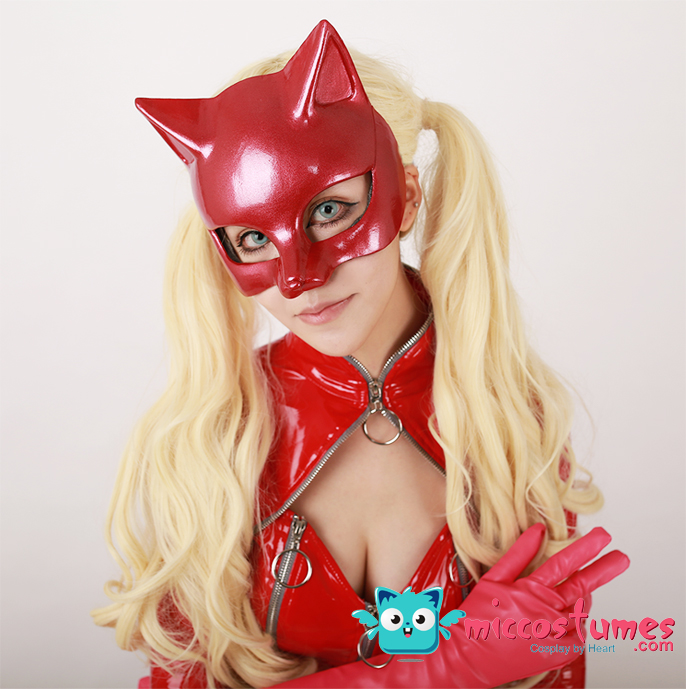
When talking about Ann Takamaki from Persona 5, compared with her as an ordinary student, I believe most of us would prefer her as a Phantom Thief who is more lively and energetic. And the skin tight red catsuit worn with that matching red panther mask is really beautiful and sexy. Here we are providing a step-by-step tutorial of how to make an Ann Takamaki Phantom Thief cosplay mask by hand.
Tag: tutorial
Cosplay Tips – Expanding Foam
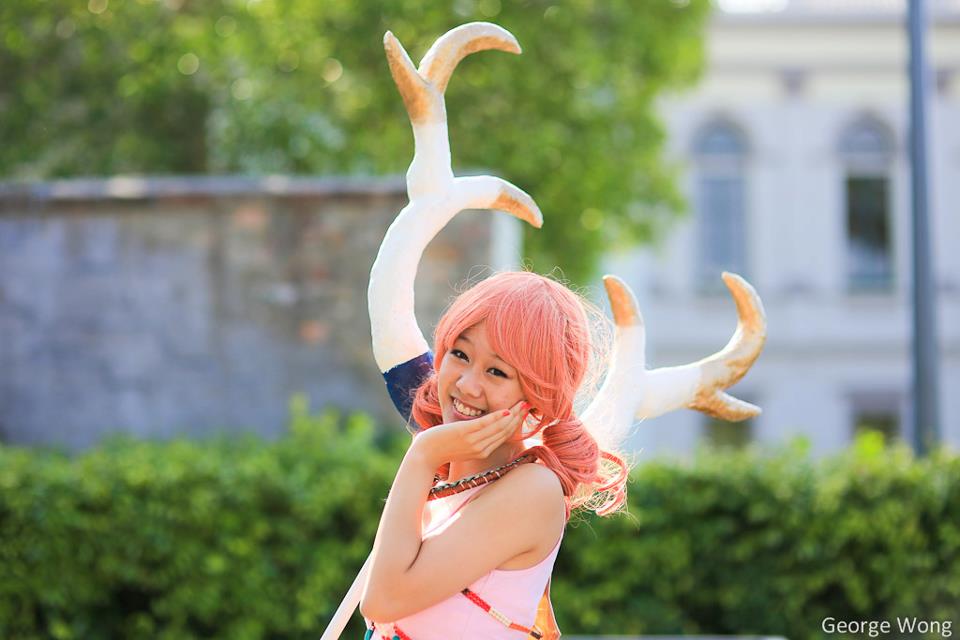
Photography by George Wong
Vanille Cosplay by DanniTee
This is basic a tutorial on how to use expanding foam on props for those new to prop making or those who want to try out a new medium. Expanding foam is basically foam in a can. It is sprayed out and expands like its name suggests. A can of expanding foam is a very handy material to keep around for cosplayer just as handy as the hot glue gun.
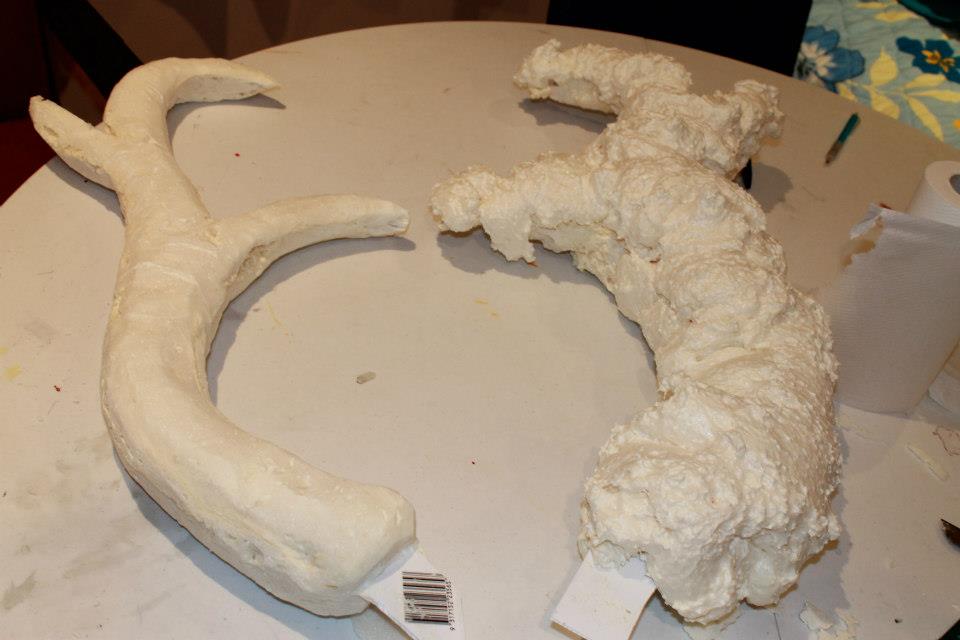
For props that are more curved like such as Vanille’s weapon from Final Fantasy XIII and Soge King’s sling shot from One Piece it is best to use expanding foam for the main part. Expanding foam can be easily cut and carved to the desired shape with a simple cutting knife.
When you decide to use expanding foam as the main medium for your prop the first thing you need to do is draw and cut out your design on to a flat light weighted material such as foam board, corflute, thick cardboard [though thick card board may be difficult to cut normally].
TIP: Draw your design slightly thinner than what is desired. The expanding foam will add to this and make it larger.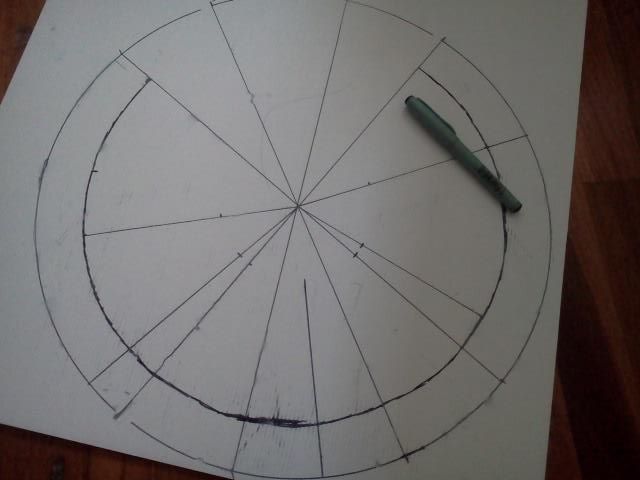
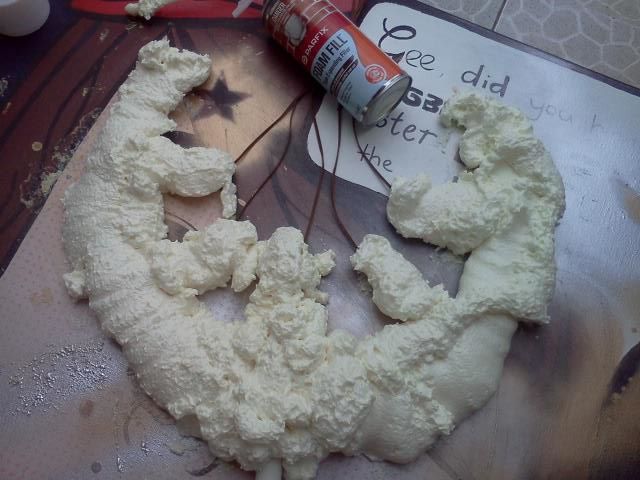
Once your piece is cut out, lay out some newspaper and spray the expanding foam over the design. Cover as much as you can but remember the foam will expand 3 times its original size. Only work on one side at a time. Don’t forget to wear gloves. Expanding foam is difficult to remove off skin if you do not act quickly.
TIP: Keep a bottle of nail polish remover nearby just in case you get some expanding foam on your skin. Nail polish remover will help remove expanding foam if you act quickly.
It will take a couple of hours for it to harden but it is best to leave it over night. Once it is completely dried flip it over and spray the other side.
TIP: Lightly spray water over the whole thing. This will make the expanding foam harden faster. It will also give it a smoother surface than usual.
Once both sides have hardened use a utility knife and carve the bumps away for the desired shape. See below for a before and after shot.
TIP: If you are carving and suddenly see that inside is still gooey and honey-like stop immediately and let the foam completely dry. If you continue to pull away at the piece it will create massive holes.
You will notice that there are small holes all over the foam. If you want to cover these holes for a smooth finish, use another medium such as paper mache or paper clay and completely cover the whole piece. Both paper mache and paper clay can be smoothed out with sanding paper for an even more smooth finish. Once that is done, feel free to paint it over with acrylics, spray paint etc.
Tutorial: Vocaloid – Senbonzakura Haraegushi
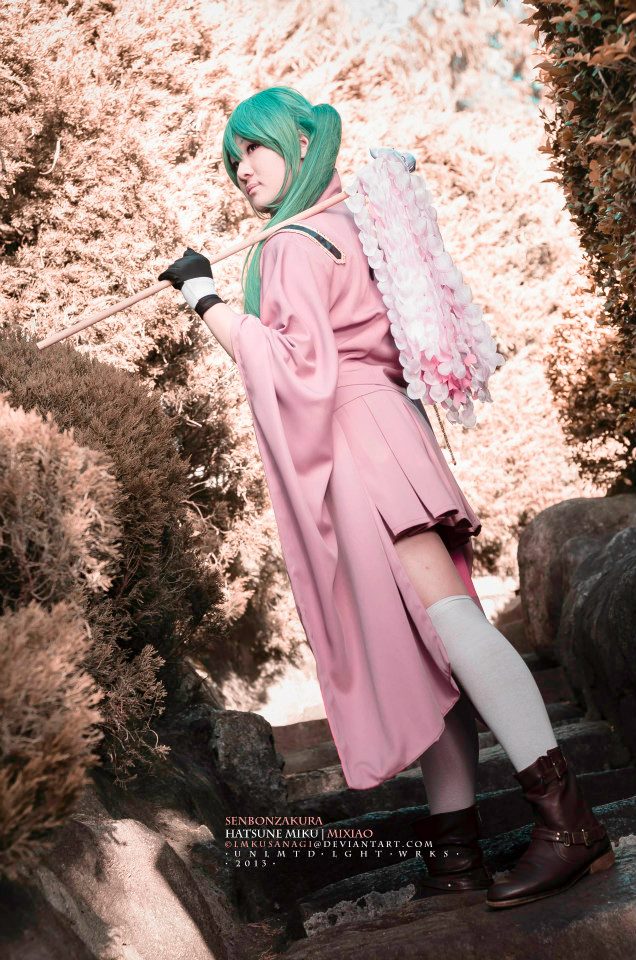
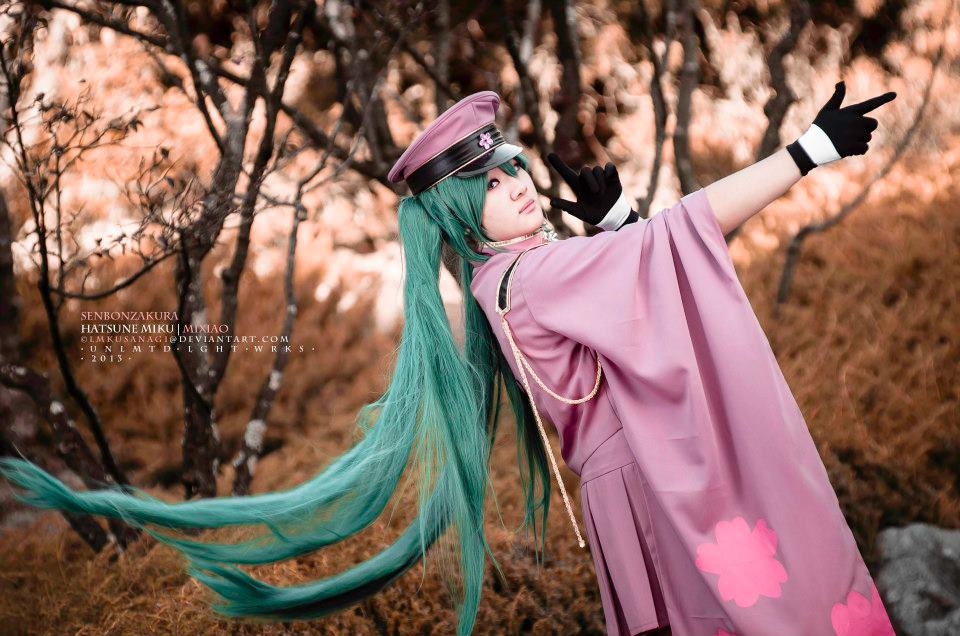
Haraegushi or Onusa is a wooden wand used in Shinto rituals. It is decorated with many zig-zagging paper streamers it is waved left and right during purification rituals. In Senbonzakura, The Haraegushi uses the shape of cherry blossoms to replace the zigzag streamers.This tutorial will show you how to make Hatsune Miku’s Cherry blossom Haraegushi. For my tutorial I used various types of pink fabrics to create a look with more depth instead of the original with one colour. Feel free to just stick to one colour or experiment with various.
What you need:
- Various shades of light pink fabric [if you want a dynamic look]
- Light pink flower petals. This can be purchased off ebay if you can not find it at the stores. You will need over 300 petals
- Sewing machine
- White fabric [felt]
- Red wool
- Wooden rod around 70-100cm
- White Ribbon
Steps
- If you wish to create the dynamic look start at this step if not continue to step 4. Cut4cm wide and 40-50cm long strips of pink fabric. It is up to you how many strips you want.
- Sew a straight line straight down the middle of the stip and cut petal shapes into the strips.
3. The darker pinks will be on the inside of our wand so sew all the pinks together at the top. When sewing it together lay an extremely long strip of white ribbon under. This will help you hold the strand easier.
4. Now we sew the petals together. So, start with one petal and overlap it with another at the end. Continue sewing petal after petal until you reach a similar length to your strips or a length of 40-50cm.
5. Once all the petals have been sewed , continue to attach it to the ribbon strip we have above.
6. When all the petal strips have been sewed together they should form an extremely wide curtain of flowers. Wrap the darker end first to the wooden rod. If you don’t have the darker pinks just wrap either end.
7. Cut a small square that will be able to fit around the top of your bundle of petals with extra space to spare.
8. Grab the red wool and tightly coil around under where the ribbon is, this is the thickest part of your bundle and make many knots. And we are done!
Senbonzakura Photography by LMKusanagi
Cosplay by Mixiao
Easy Cosplay Tutorial – Vocaloid: Poker face Horns
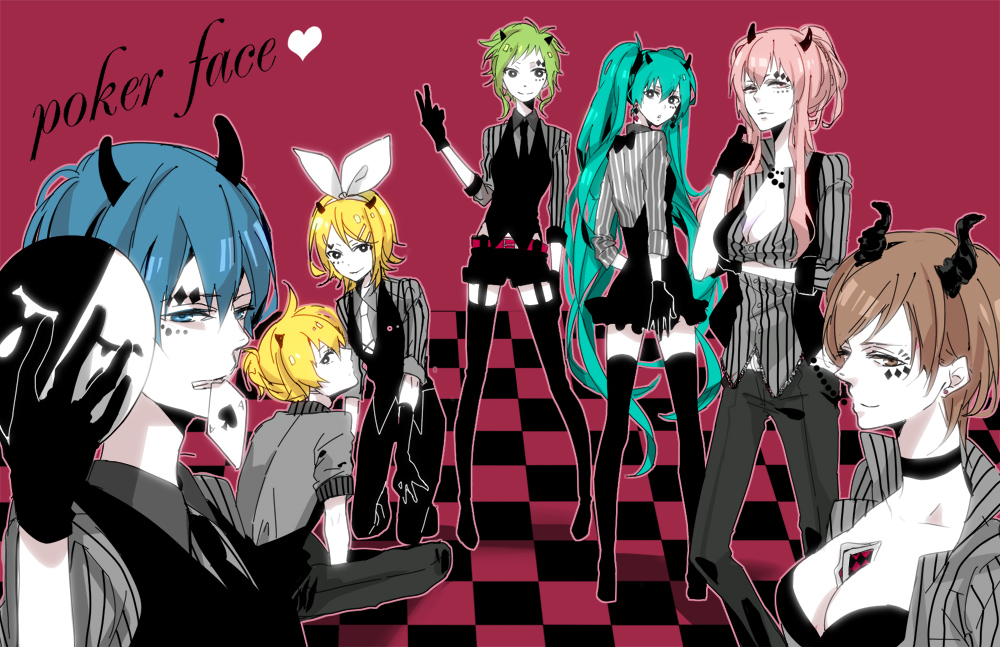
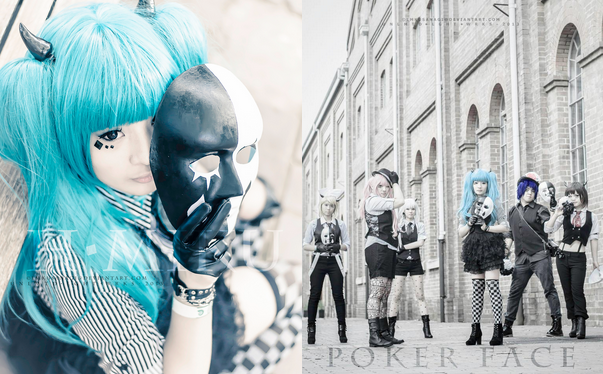
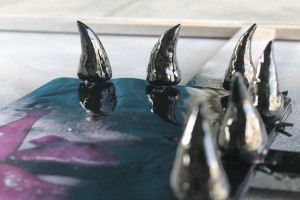
Here is another simple tutorial to help you create clip on horns for any cosplay, however this tutorial will focus on the Vocaloid Poker Face art.
Photography by LMKusanagi
Miku Cosplay by Springroll
Luka Cosplay by Mixiao
Haku Cosplau by DanniTee
Kaito Cosplay by Kei-U
What you need:
- 1x 25mm diameter foam ball
- Air dry clay. Here I am using Fimo Air Light
- Pen Knife
- Cutting Mat
- Nail polish. It can be any colour (we will use spray paint after) or the colour of your desired horns (if you want to skip spray paint)
- Spray Paint of desired colour (Spray Paint will help with an even coating)
- Hot glue
- 2x Alligator clips
- Small cup of water
Steps:
- Cut the foam ball in half. Using the cross section of the ball will help you keep the horns the same size.
- Take a small pinch of clay and cover one half in a layer of the clay. It is best if you keep the remaining clay in a zip lock bag as you work so it does not dry out.
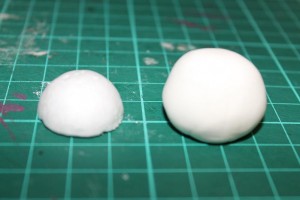
- Slowly add a bit of clay at a time and shape it until you reach a desired height. I recommend it be around 3cm in height.
- Use water to smooth out the clay to create an even surface.
- While it is still moist, bend the horn to create a slight hook.
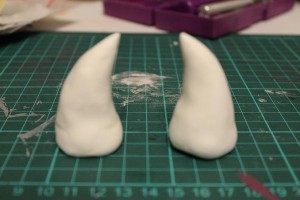
- Repeat the same steps for the other half of the ball.
- Let the horns dry out over night.
- Once both horns are dry coat the horns in a layer of nail polish as a cheap varnish alternative and let it dry. It is up to you if you want to coat the horns in the colour desired as this will save you the next step of spray paint. However I still advise you use spray paint to get an even coat. You can skip 10 if you do not want to use spray paint.
- Now using hotglue, stick you horns onto the alligator clips. Make sure you have the clips reversed when gluing the horns on so that you have a left and right horn.
- Now coat the clips and horns in a layer of spray paint and a second layer if desired. Let it dry and we are done!
Guest Post: Cosplay on a budget – Make up
Let’s face it. Cosplay is an expensive hobby. The costume alone can be $50 to $200 (if not more depending on complexity) and then one has to factor in make-up, wigs and props.
But it doesn’t have to eat a hole in your wallet! You can save lots of money and whether you’re experienced at cosplaying or not isn’t a factor.
In this post, I’ll be talking about getting good deals on make-up.

There are so many ways to get cheap but good quality makeup. If you’re based in America, you should be aware of the site www.elf.com. Although I personally have never bought from there (due to expensive shipping costs), I have heard many good reviews from fellow cosplayers, raving about the great quality of their products.

Most of you should be familiar with the Japanese bargain store Daiso. If you are not allergic to any of the ingredients or have sensitive skin, you should try out their products. They have many brands of mascara, eyeliner, BB cream, concealer, mineral powder and lip-gloss for only $2.80 each. The other day I bought two sets of false lashes from them and nose illuminator powder and the results were great! You can save a lot of money by buying their falsies. It’s so much cheaper than those from Priceline or Dollywink, however their quality is still of a high standard. Apart from the glitter lashes, Daiso’s falsies look very natural. They also have three different sub-brands and the various types of lashes (such as natural and cross).
If you’re still reluctant to go to Daiso, you can search for cheaper brand makeup at your local Priceline store or Discount Chemist. Two brands you should be aware of are Models Prefer and Designer Brands. I’ve bought lipstick and concealer from Models Prefer and eyeliner from Designer Brands and have had excellent results.
The main cost for make-up though is foundation, or BB cream depending on your choice. (Generally though, I would go with matte foundation because it looks better in photos).
When it comes to foundation, I personally wait for sales. These can be really good, especially during the economic downturn! You can save 20 to 40 per cent at times…
For some people, this isn’t an option. However if you are well organised and keep up to date with when sales are on (hello catalogues!!) then you should be fine.
Tip: Do your research. Some shops sell cosmetics at over-inflated prices. I know one store sells false lashes for $10… the exact same product AND brand sells in Daiso for $2.80. Rip off, much?
Mid-range products
Australis is a brand that is cheaper than the big names (such as Revlon, etc.). I’ve tested their liquid liner, which is cheap but glides on smoothly.

Your local Morning Glory or E-Cosway store has some great, affordable products too ^_^ Morning Glory sells Tony Moly eyeliner and it is fantastic! My choice, the waterproof automatic eyeliner is easy to control and comes with a sharpener on one end.
Market leaders
Brands such as Maybelline and Covergirl can be constantly bought at lower prices from Discount Chemists. When it comes to buying at supermarkets, generally the market leaders will have rotational sales on different products. Check your catalogues regularly and visit the make-up aisle for a quick glance during your weekly shopping routine!
Don’t forget to check the samples section in your local Discount Chemists, they’re the big name brands at an affordable range!
When it comes to high end cosmetics, you’ll have to pay attention to catalogues for the department stores… good luck!
Remember
If you feel that you may be allergic to some of the cheaper products (such as from Daiso) don’t be afraid to ‘go one level up’. At the end of the day, your skin is more important than your cosplay.
Good luck finding those bargains!

Author About Tsubame
 Tsubame is an avidfan of many things including manga, reading, writing, cosplaying, sewing, street fashion and make-up. She has an eye for quality and specialises in reviews and budgeting posts. See more of her blogs at dailydoseofgenius.blogspot.com.au.
