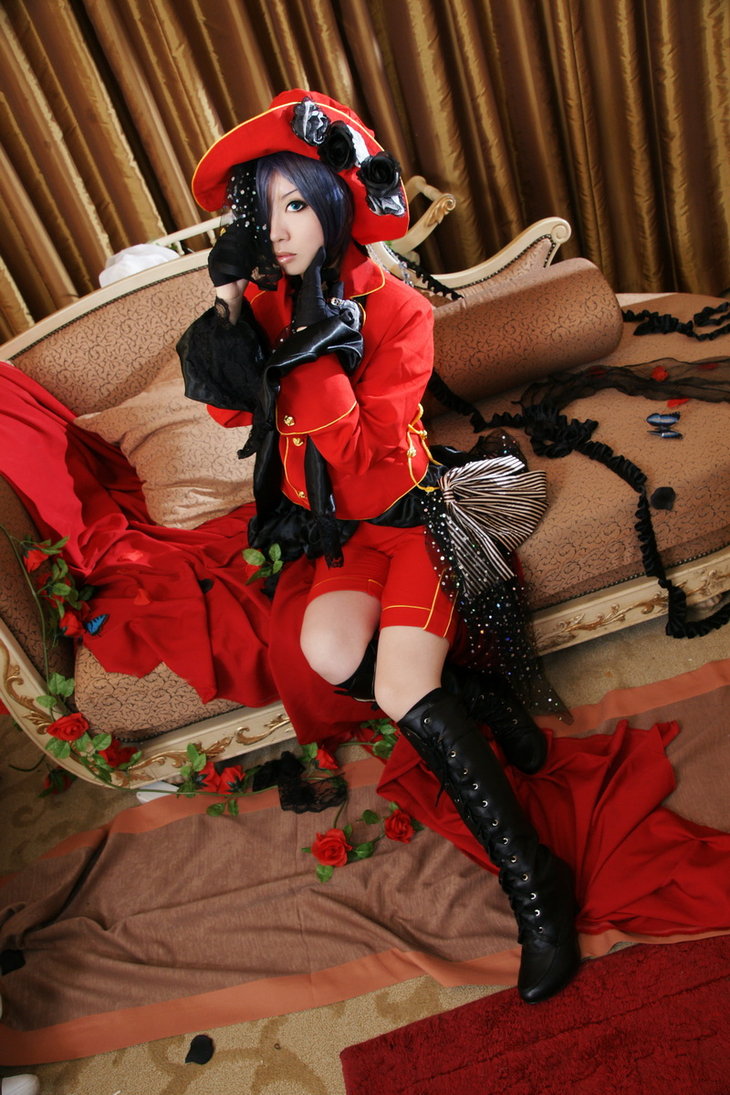
A little over a year ago I was asked about how I did Madam Red’s pleats, so I created a quick, six picture tutorial with explanations. Now I will share it here. If there are any questions, feel free to contact me and I will clarify or get more info to you.
Step 1: The Start

First you will want to cut all your fabric that will be pleated. Since it will take so much fabric, you will want to go ahead and also stitch together all the lengths that you will need to make each part. It is up to your discretion how tall each pleat should be, but remember to factor in both the seam allowance at the top and the hem at the bottom. I always fold my hem in twice to encase the raw edge and then stitch it down before I start. Once all that is done, get a measuring gauge or ruler, or something that is the width you want for the pleats. I chose to make them all 1″ pleats, so each pleat actually takes 3″ of fabric. So that will create the math for each piece. Say the circumference of the bottom of your skirt is about 72″ around. You will then need to do a little math: 72×3=225″ is the total amount you need for pleats. But again, remember seams. You will want to leave enough at the start and end of the strip you cut to put the seam together once you finish all the pleating. Does all this make sense?
Step 2: First Fold

Okay, so once you have set down whatever you are using to gauge your pleat width, fold back the fabric at the edge. Don’t fold back all of it if you are using a really long piece, as it will take you forever. You can complete this step and the next one all together, but I did them separately in this picture just for the sake of explanation.
Step 3: Fold Back

Just fold the fabric back at the edge of the pleat and you are ready for the next step.
Step 4: Iron

That’s the logical next step right? Just hold down the folds and place a good, hot iron right on it. I use steam when I iron in pleats too, just for extra reinforcement.
Step 5: On to the next one!

After getting the first pleat ironed down, move your gauge or ruler or whatever you are using to measure right next to the edge of the first pleat and start the process over again…and again and again and again. It’s sorta like lather, rinse, repeat. Trust me, it will take a while. I think I logged 6 hours of cutting, hemming, pleating and stitching for this one costume and there’s about 20 yards of fabric that got turned into pleats.
Step 6: Finished Pleats

Don’t mind the fact that I didn’t get the last pleat completed. I just cut a long strip of fabric without measuring. I always pin each pleat into place once it’s pressed to keep it from getting out of control and unfolding while I work on the piece. Each of my pieces was so long I had to drape them over a chair as I moved them off the ironing board.
Finished Cosplay Front:

Finished Cosplay Back:

More images can be found in these galleries: here and here and here
A little side note about the trio of Kuroshitsuji cosplay that my Madam Red costume was a part of: we won a Best Craftsmanship Award in A-kon’s Friday Hall Cosplay Contest at A-kon 21 in 2010.
If you have any questions about any of the costumes in this trio, please, feel free to ask.
